Neody
Getting started with your colony on Neody Legacy
Launcher, character, origin, newcomer's grace, starter kit, step-by-step colony founding, first buildings and first nights: the complete guide for new players.
Contents
Welcome to the Kingdom. This guide takes you from your first download to your first night: install the launcher, create your character, choose your origin, found your colony and survive until dawn. Each step tells you where to click, what appears and what matters most.
- Requirements
- A Minecraft Java account and the Neody Legacy launcher, available from neodylegacy.fr
- Time
- Allow roughly one hour of play (an estimate) to get your first colony standing
- Setting
- Medieval world, colony building, PvP enabled
- Key menu
- Press K : your Kingdom Desk
1. The launcher: the Kingdom's doorway
Go to neodylegacy.fr, download the launcher for your system, install it and sign in with your account. The first launch downloads everything needed to play, so allow a few minutes. Later updates only download what has changed. The server address is already saved in the launcher: you do not need to enter it.
2. The Neody title screen
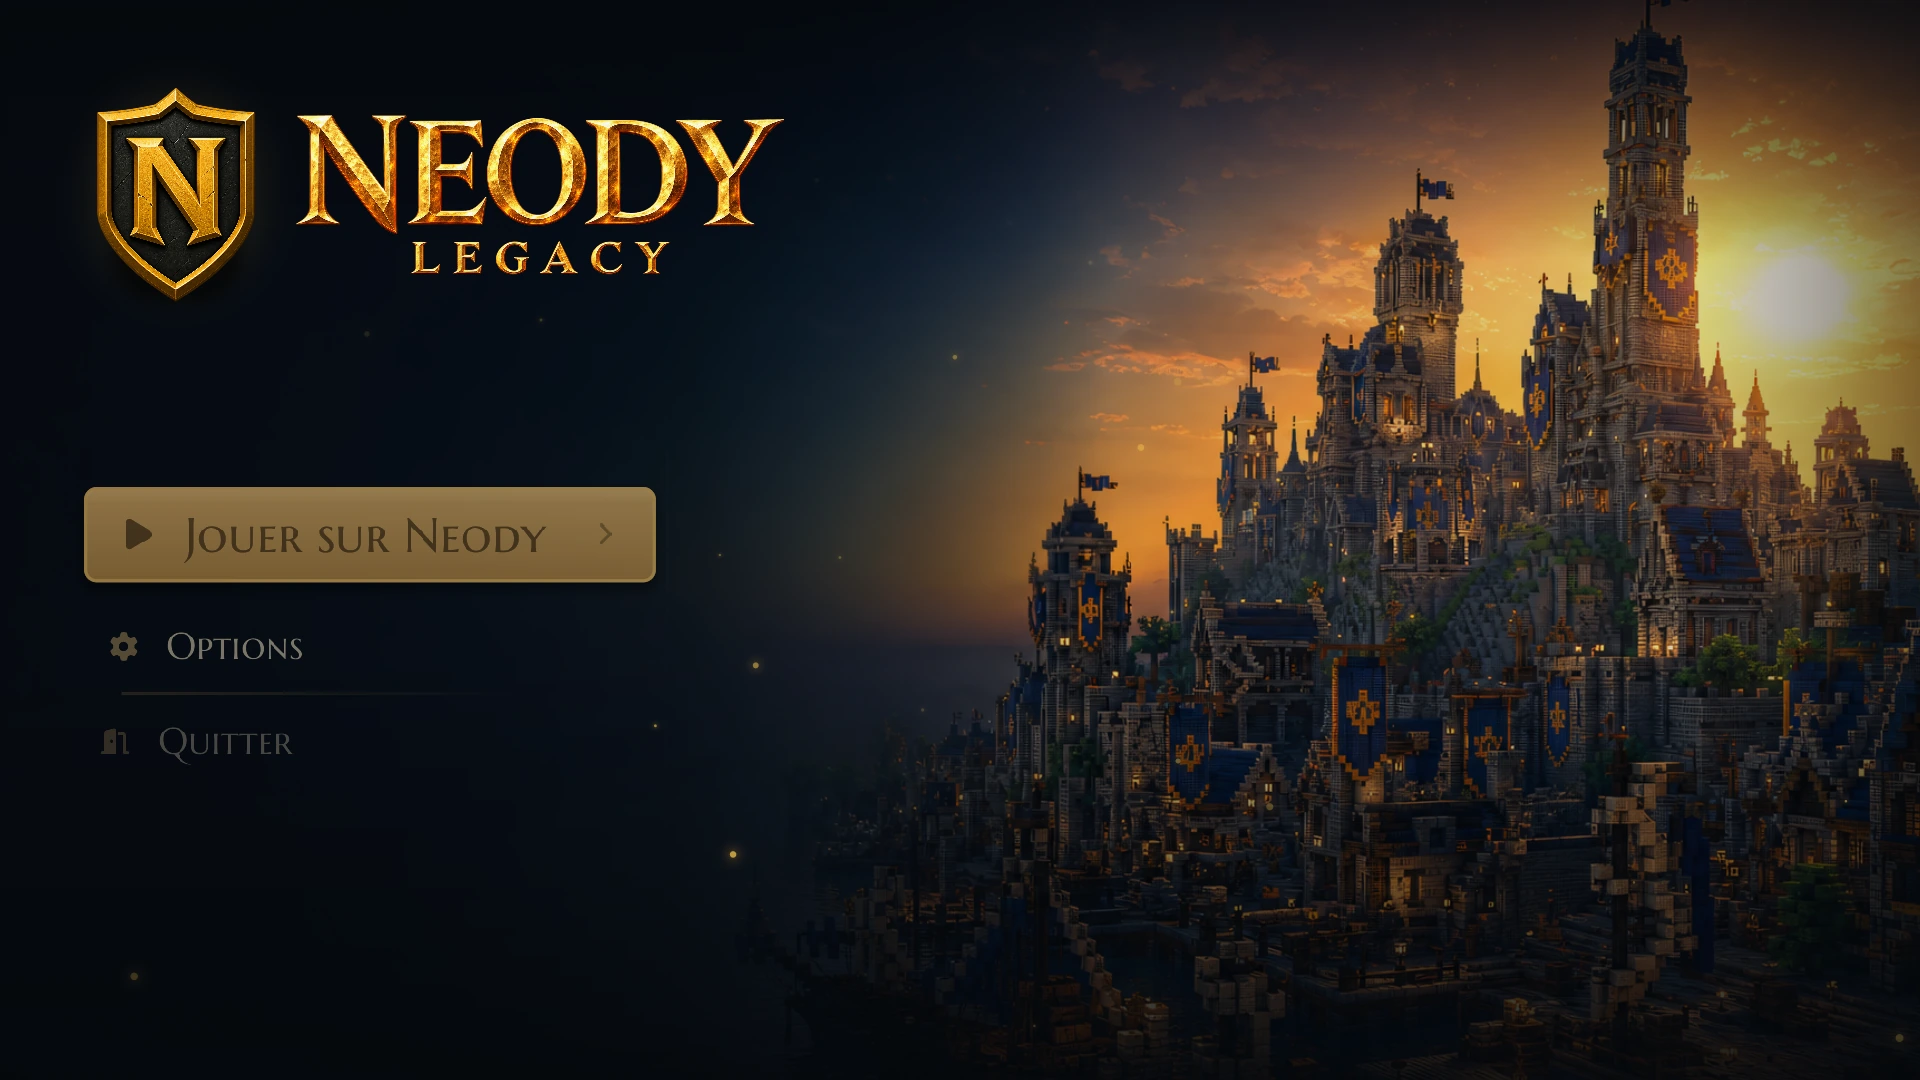
Once the game starts, Neody's title screen replaces Minecraft's. It has just three buttons: Jouer sur Neody (Play on Neody), Options and Quitter (Quit). At the bottom right, an indicator shows the Kingdom's status (Connexion au royaume… (Connecting to the Kingdom…), En ligne (Online), Royaume injoignable (Kingdom unreachable) or Version différente (Update needed)) and the number of players online. If it says Version différente, restart the launcher to update your game.
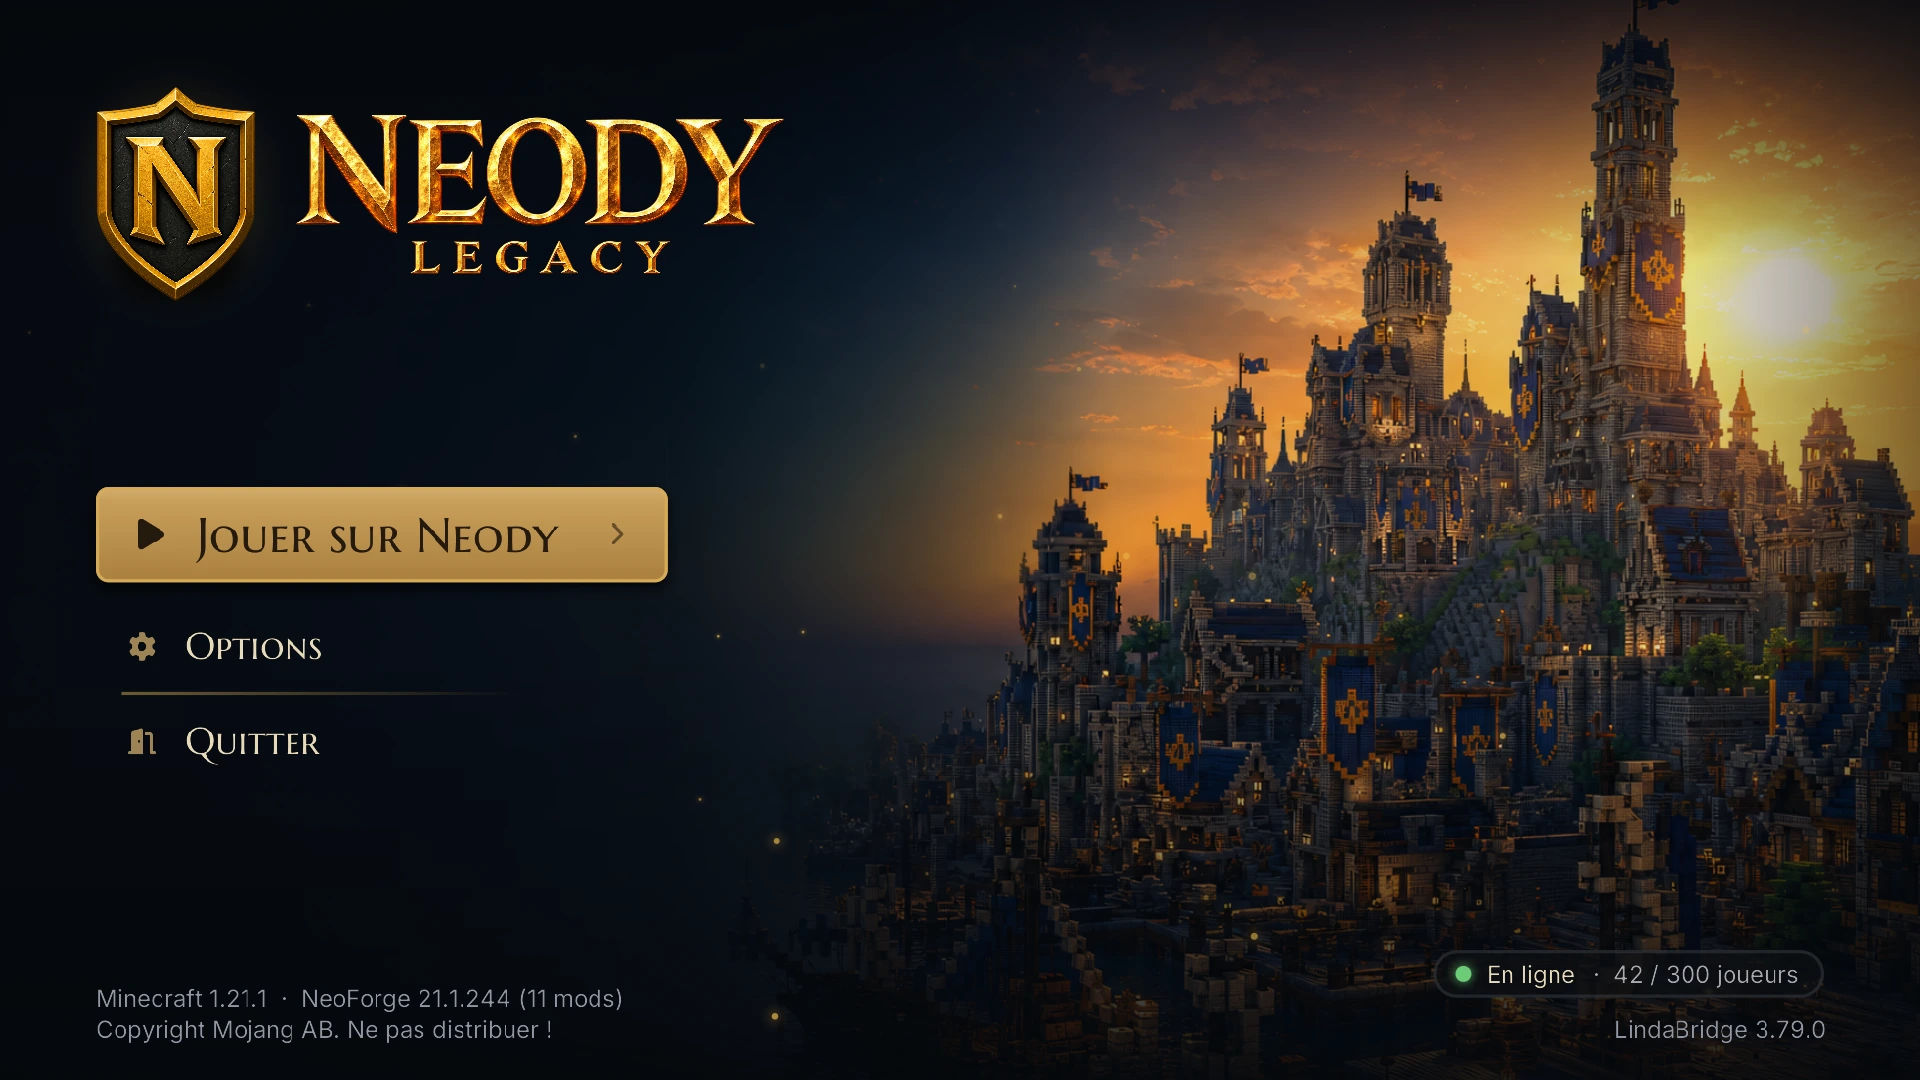
The animated introduction plays only once each time you launch the game, and only if “Réduire les animations” (Reduce animations) is off. You are not connected automatically: you choose when to enter. During loading, seven stages appear, from “Éveil du royaume” (The Kingdom awakens) to “Les portes s'ouvrent” (The gates open), with rotating tips about useful keys.
3. Your first connection, in order
A welcome card appears as soon as you enter. Then everything follows without you needing to look for the next step:
1. Choose your character
The origins screen opens: race, class, lineage and confirmation (see below). Newcomer's grace starts as soon as you confirm your choice.
2. Your identity
When the origins screen closes, “Votre personnage” (Your character) opens automatically once: first name, surname and age.
3. The guided tour
When you click “Créer mon personnage” (Create my character), Anselme the herald introduces the Kingdom's services through a few cards.
4. The world
You appear with protection and your starter kit. Your newcomer's grace began when you confirmed your origin.
You will not be kicked for inactivity while your first origin selection is open, so take your time reading. About seven minutes after connecting, a reminder also invites you to join Discord.
4. Origin, class and lineage
“Ton histoire commence ici” (Your story starts here) guides you through four stages: Race, Classe (Class), Lignée (Lineage), then Confirmer (Confirm). Each choice has its purpose:
Your racedefines your body: what you can do from the start, along with a weakness. It evolves naturally as your mastery grows.
Your classdefines what you do. It opens a talent tree for your adventuring role.
Your lineage adds a bonus to your race, often an ability activated with a key.
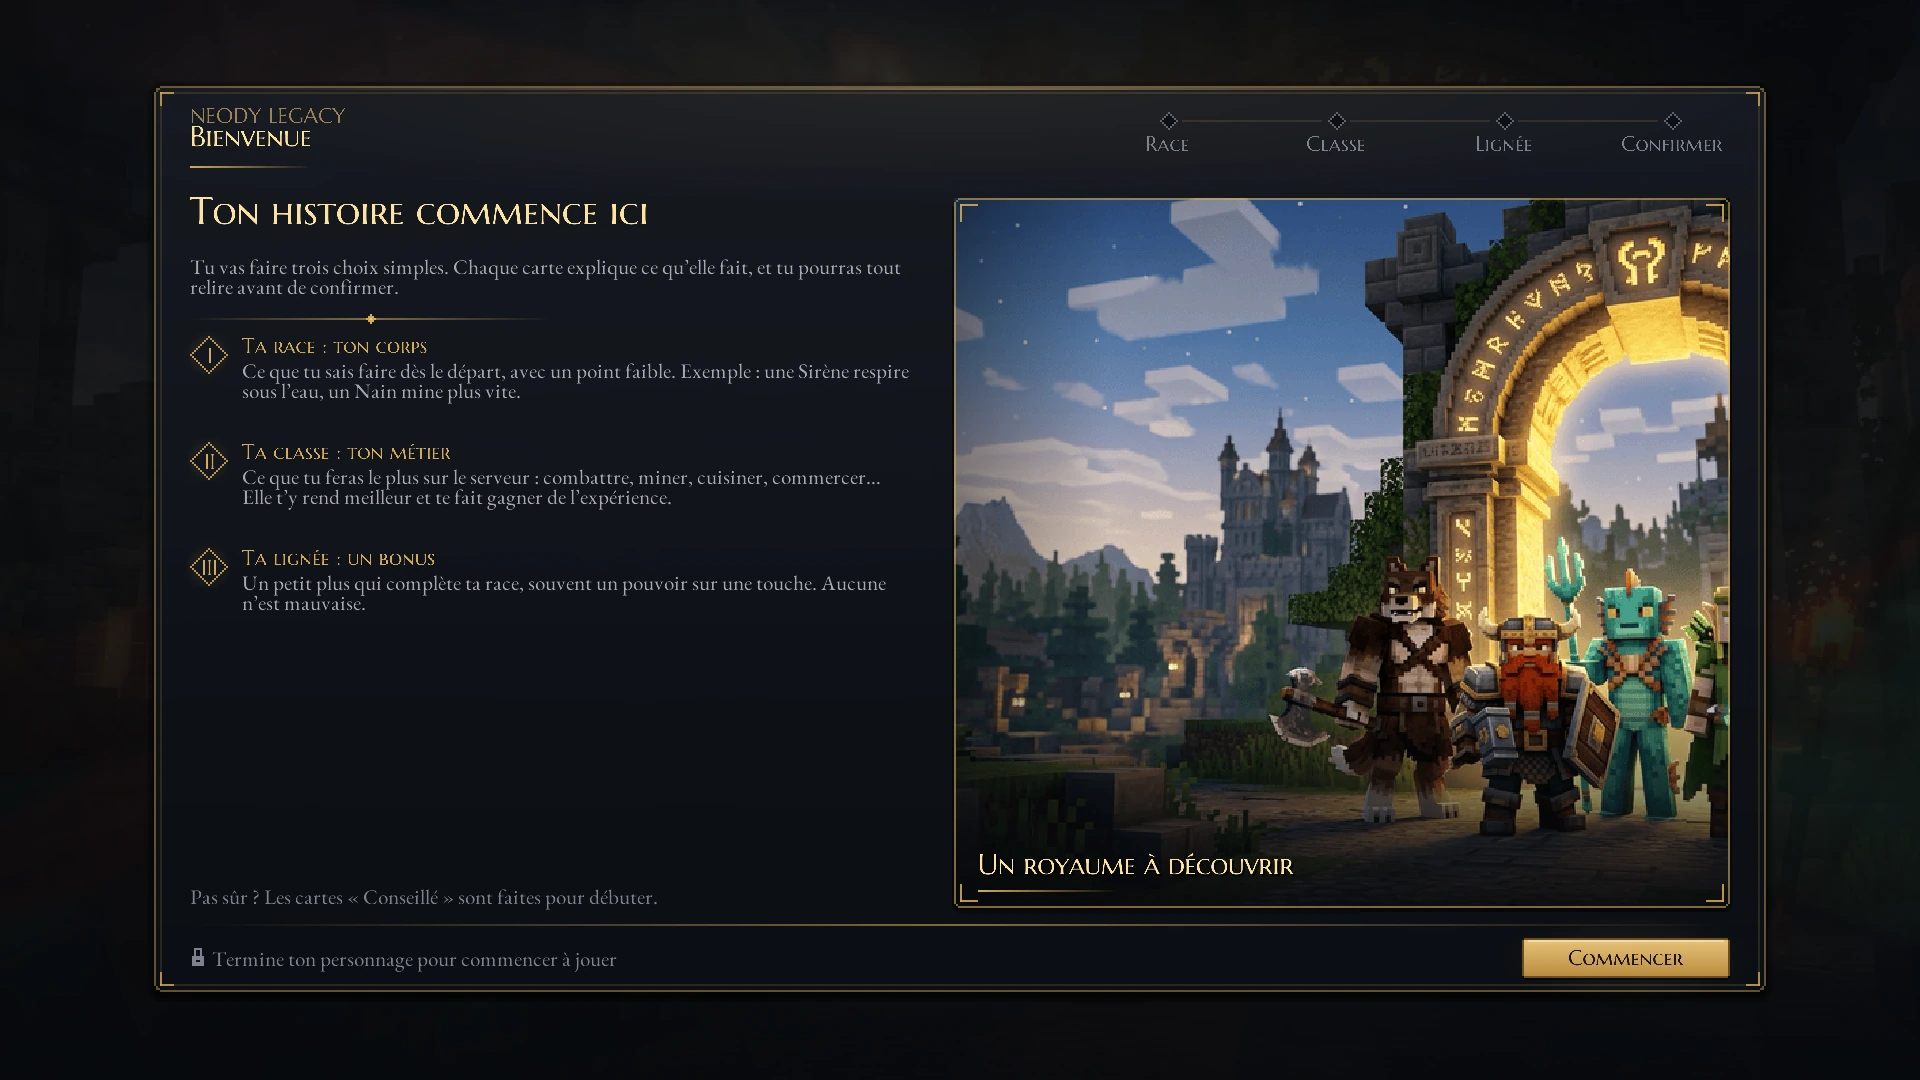
The buttons are straightforward: Commencer (Start) on the welcome screen, then Continuer (Continue), Retour (Back), Au hasard (Random) (which draws one of the displayed cards, never the one you have already selected) and finally Confirmer (Confirm) to enter the world. The window stays open until your character is complete. Some classes work well with a race, others less so, but every choice remains possible: gold marks a benefit, red a cost.
For details about each people and class, see Origins and classes : it helps you make an informed choice. If your race has a specific spawn point, you appear there directly (a marine race starts at sea, for example).
5. Creating your character
After origins, the Votre personnage (Your character) profile opens. It shows your three choices, which cannot be edited here (Origine, Classe, Lignée), and three fields to fill in.
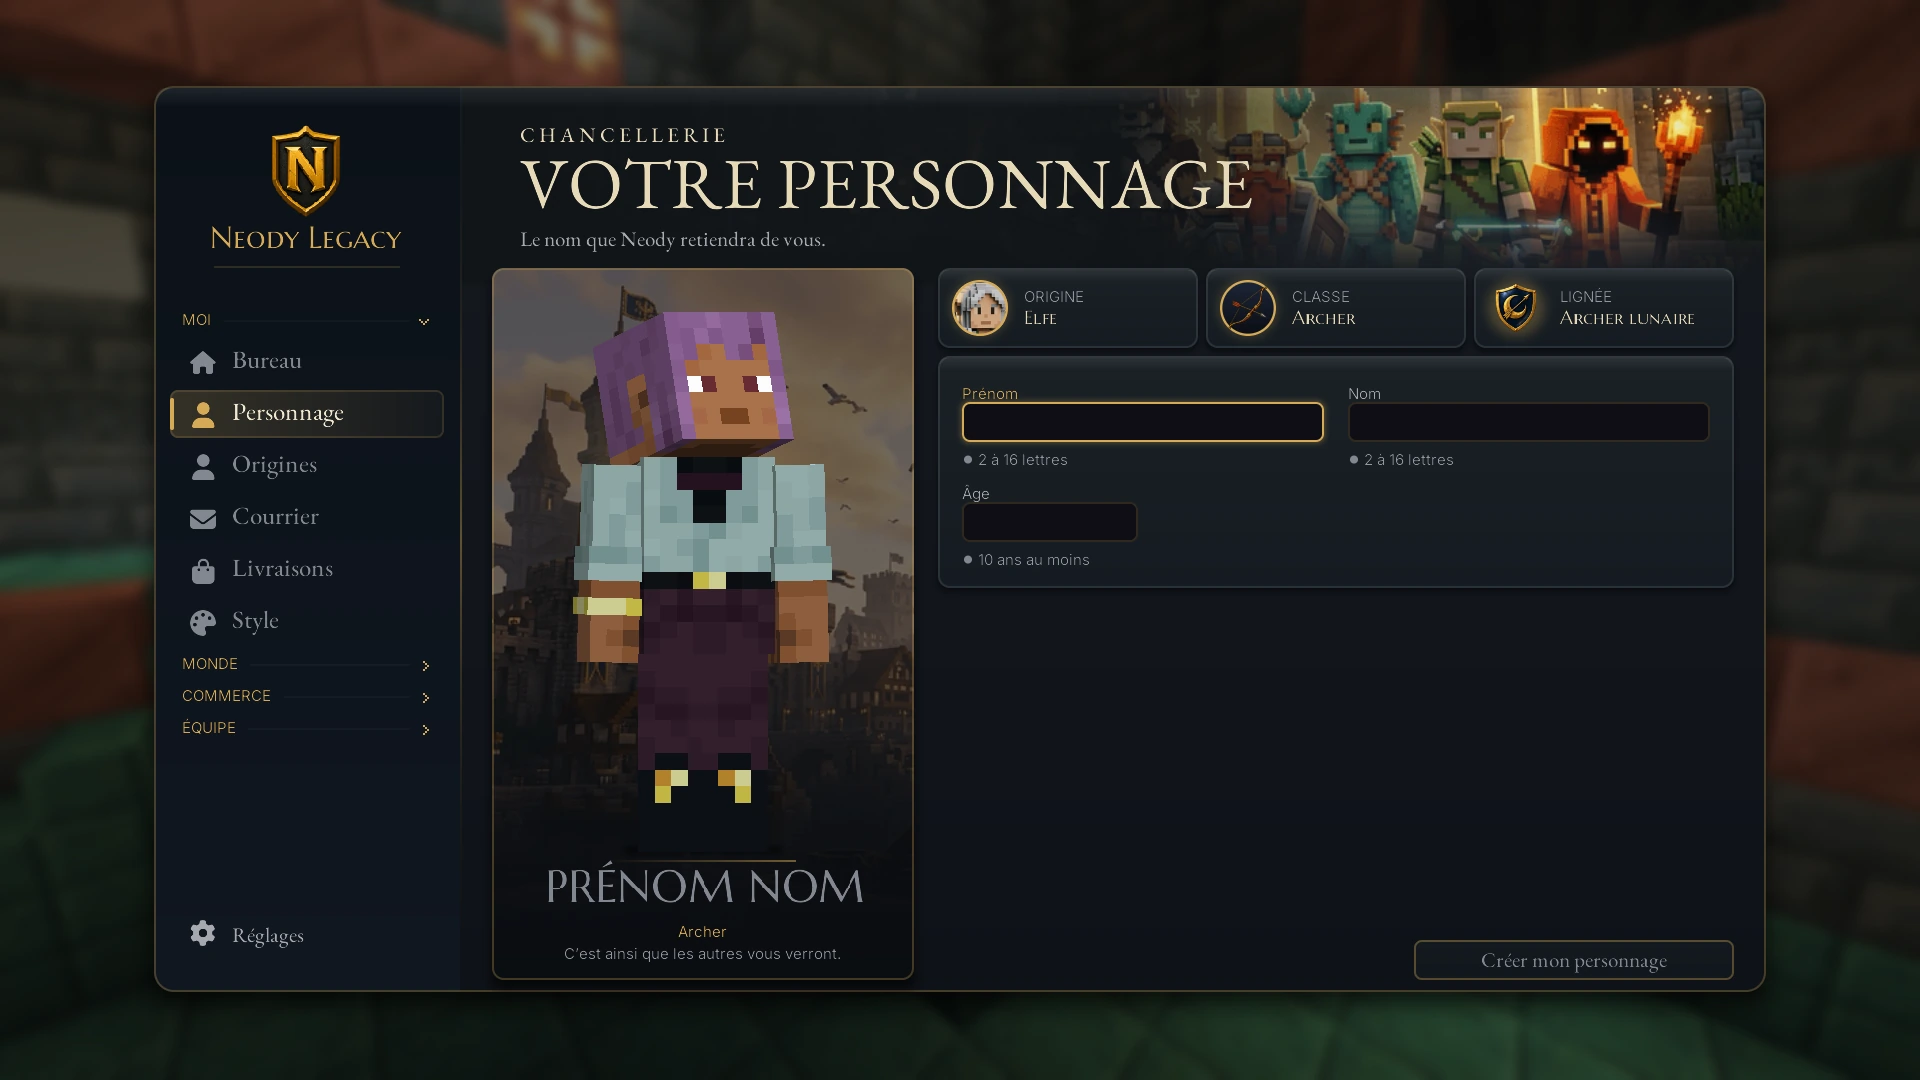
- First name and surname : 2 to 16 characters each. Letters from all languages, hyphens and apostrophes are accepted. Names are formatted with an initial capital followed by lowercase letters.
- Age : a whole number, at least 10 years old.
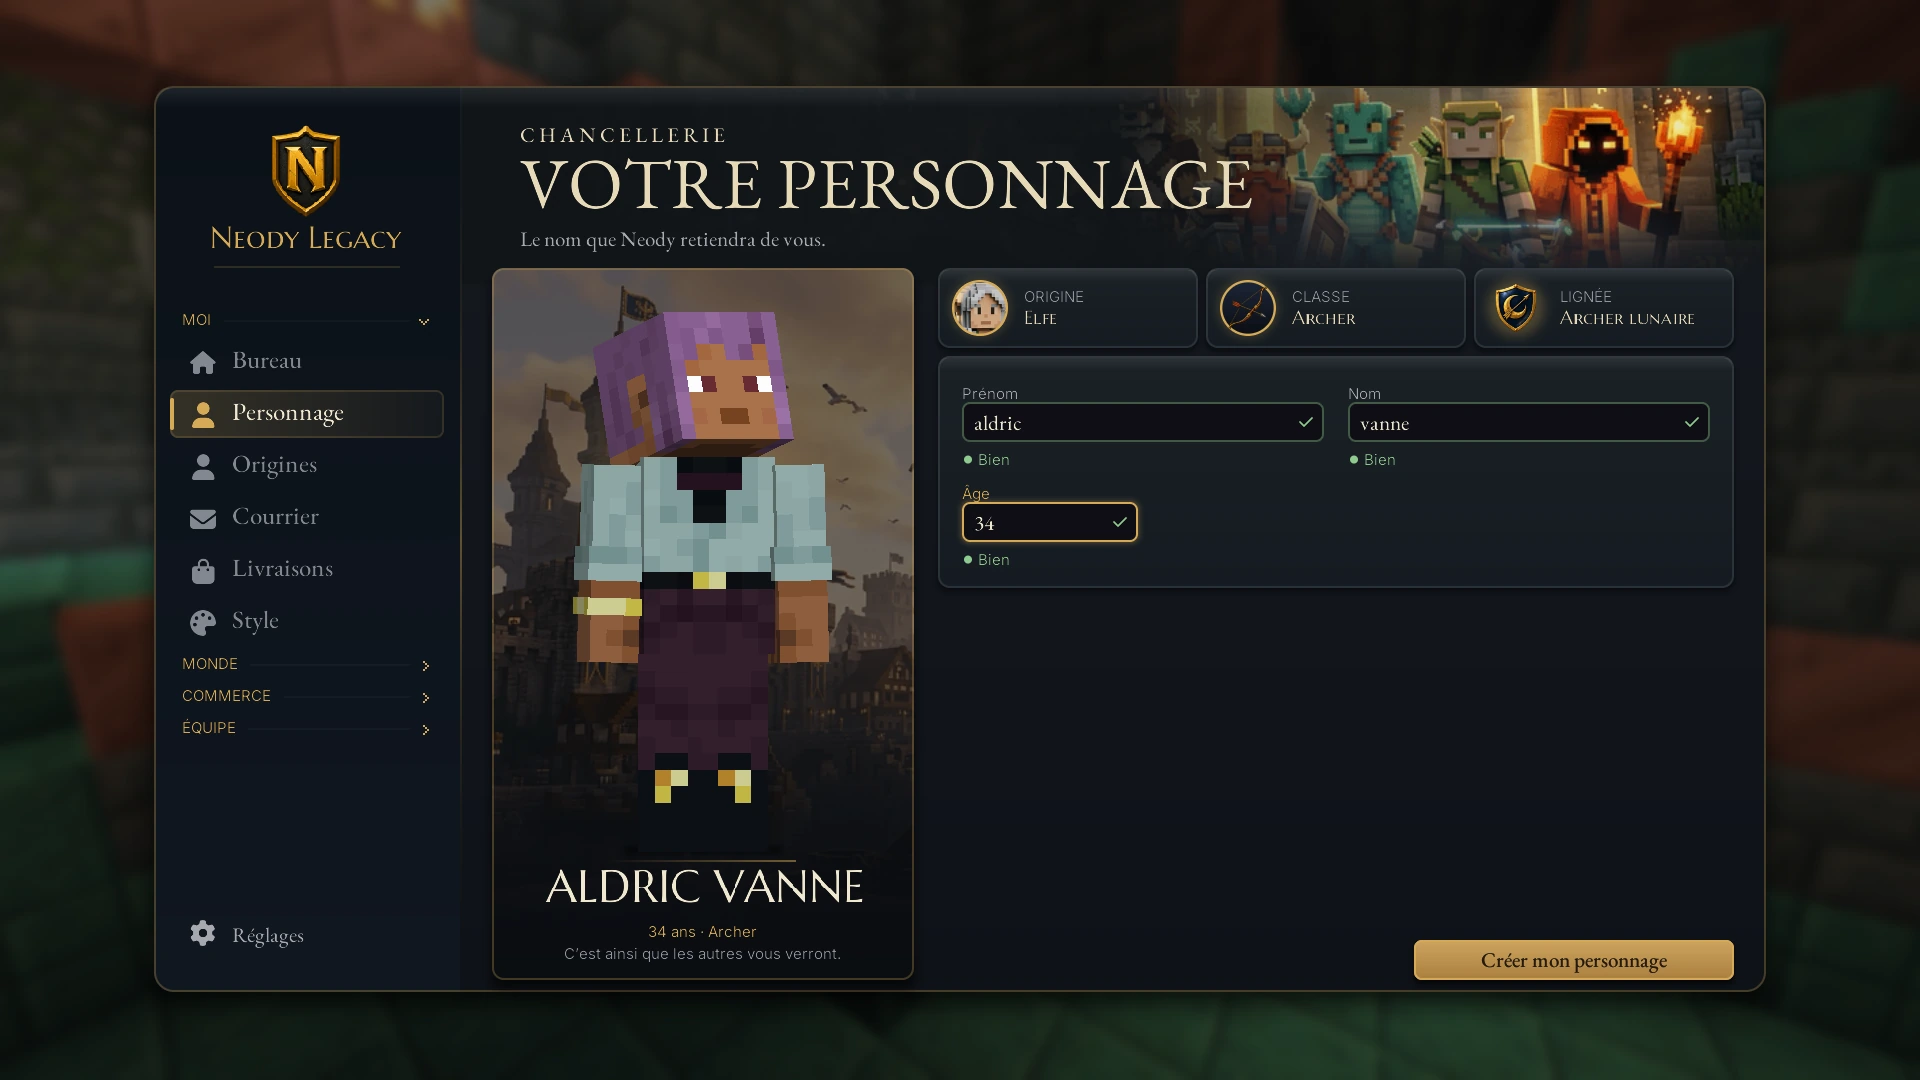
The preview reminds you that this is how others will see you. In game, other players only see your character name in the following format (age, first name, surname): [âge] Prénom Nom . Your Minecraft username stays hidden. Click Créer mon personnage (Create my character) : a seal sounds, “Identité RP enregistrée” (Roleplay identity saved) confirms your choice, and the Kingdom learns of your arrival.
Bring your profile to life
There is still room to give your character a story. Open the Kmenu, then Personnage (Character) : you will find five free-text fields (Loisirs, hobbies; Métier, occupation; Traits; Objectifs, goals; Histoire, backstory) and a “Fiche x/6” profile completion gauge. Short fields accept 200 characters, the backstory 2,000. A Choisir… (Choose…) button appears until an origin has been confirmed.
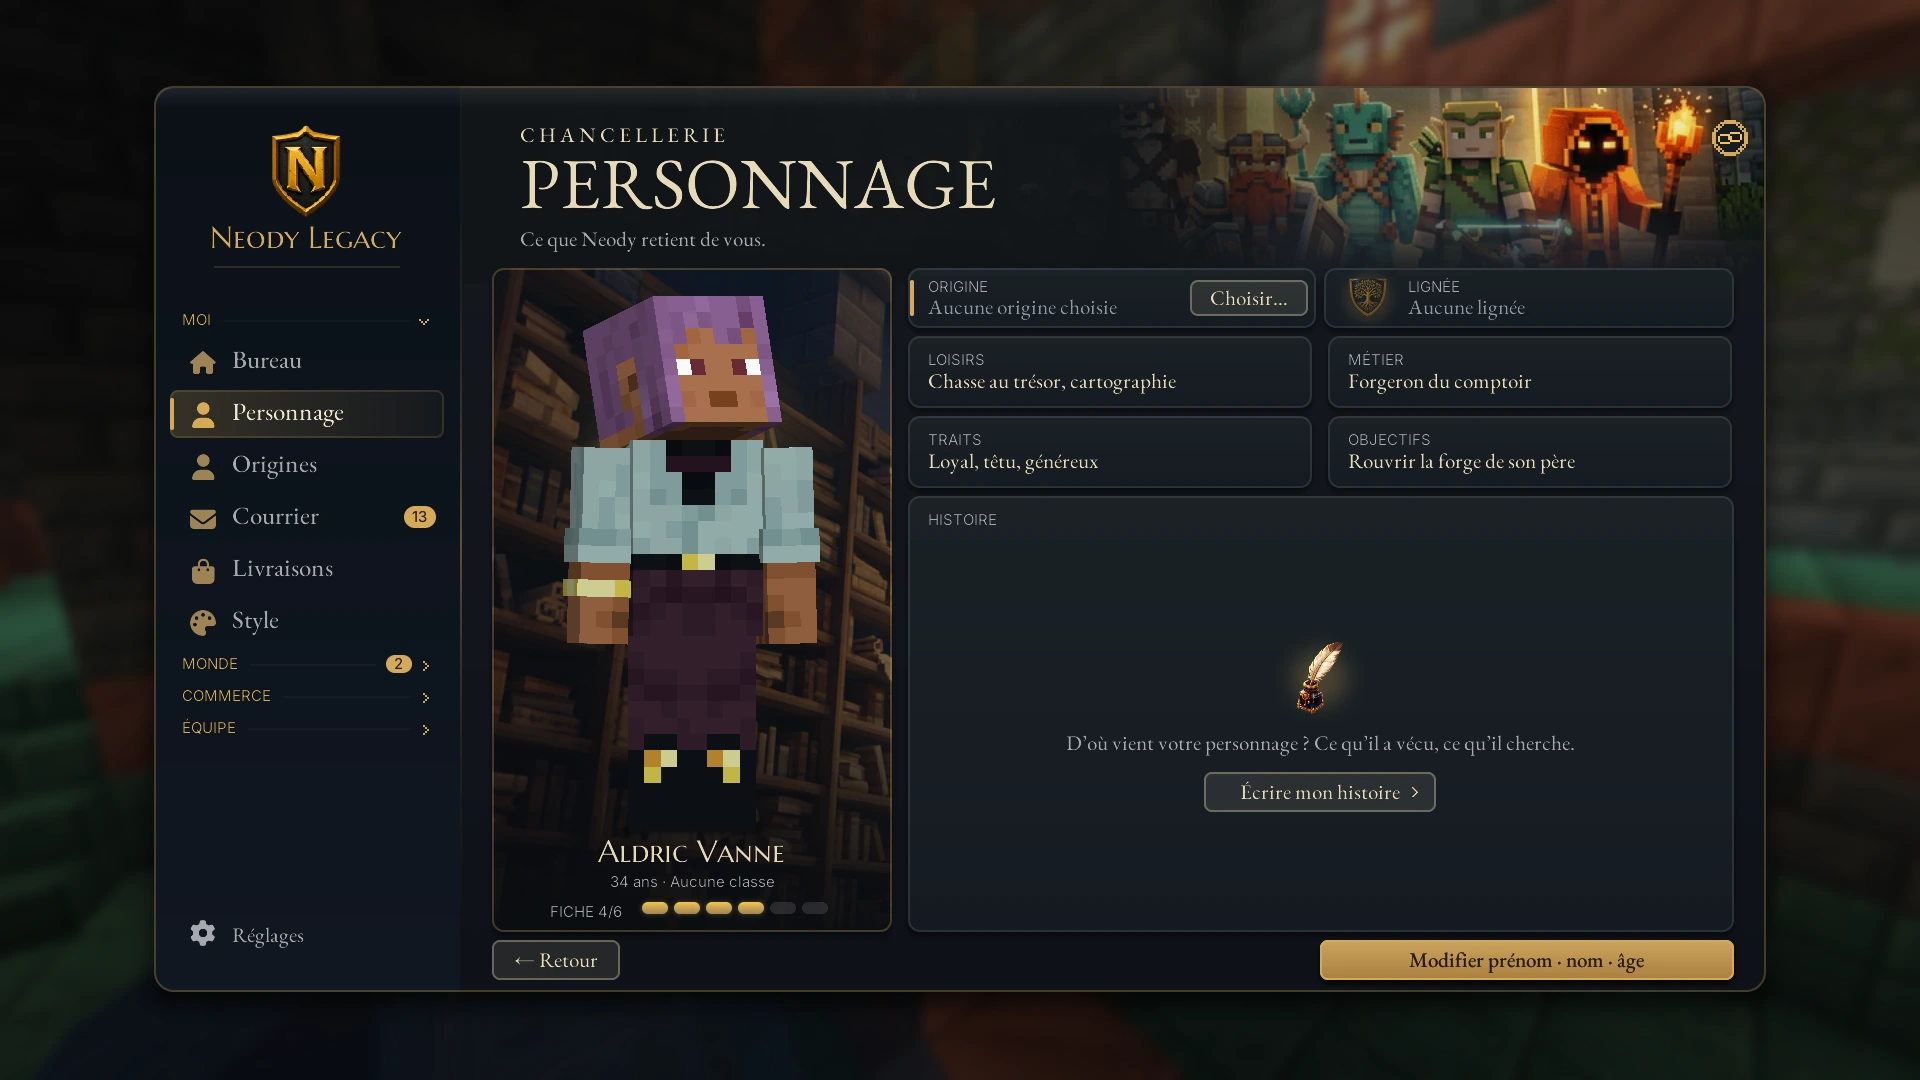
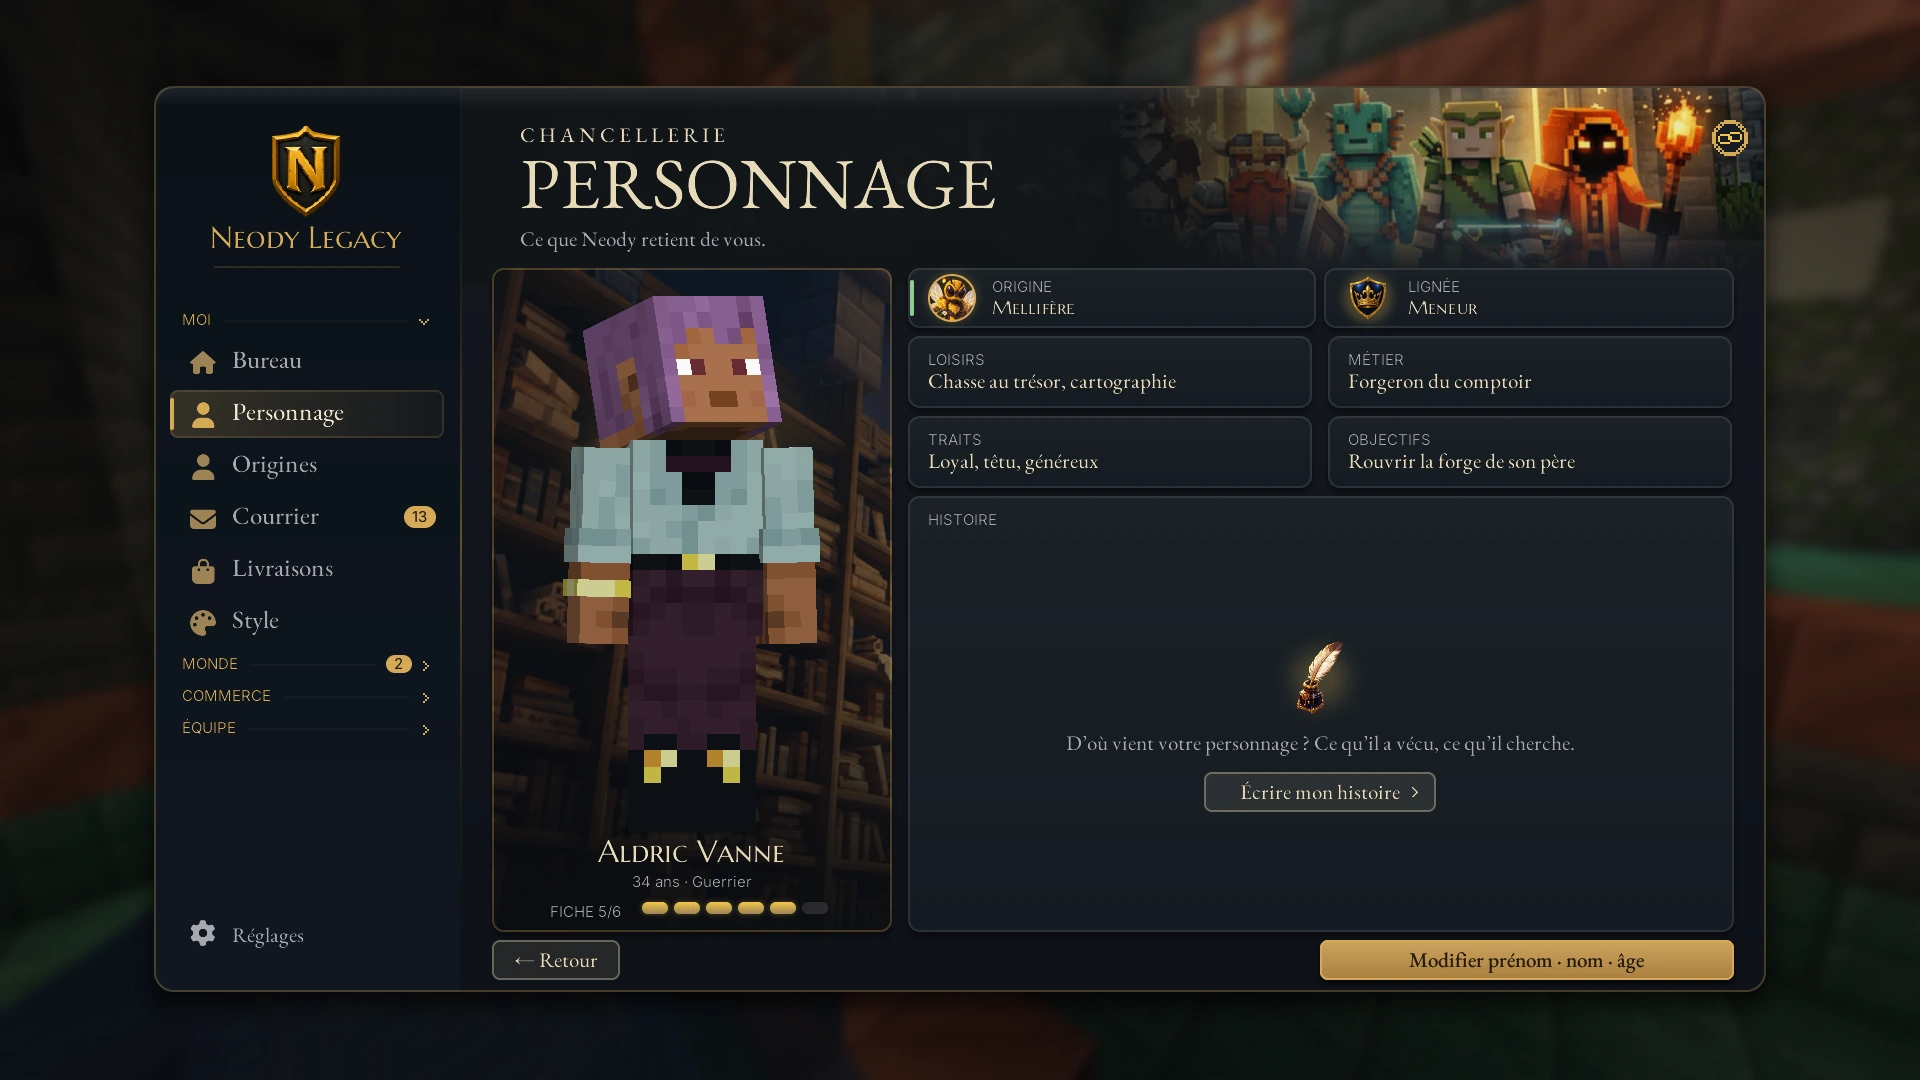
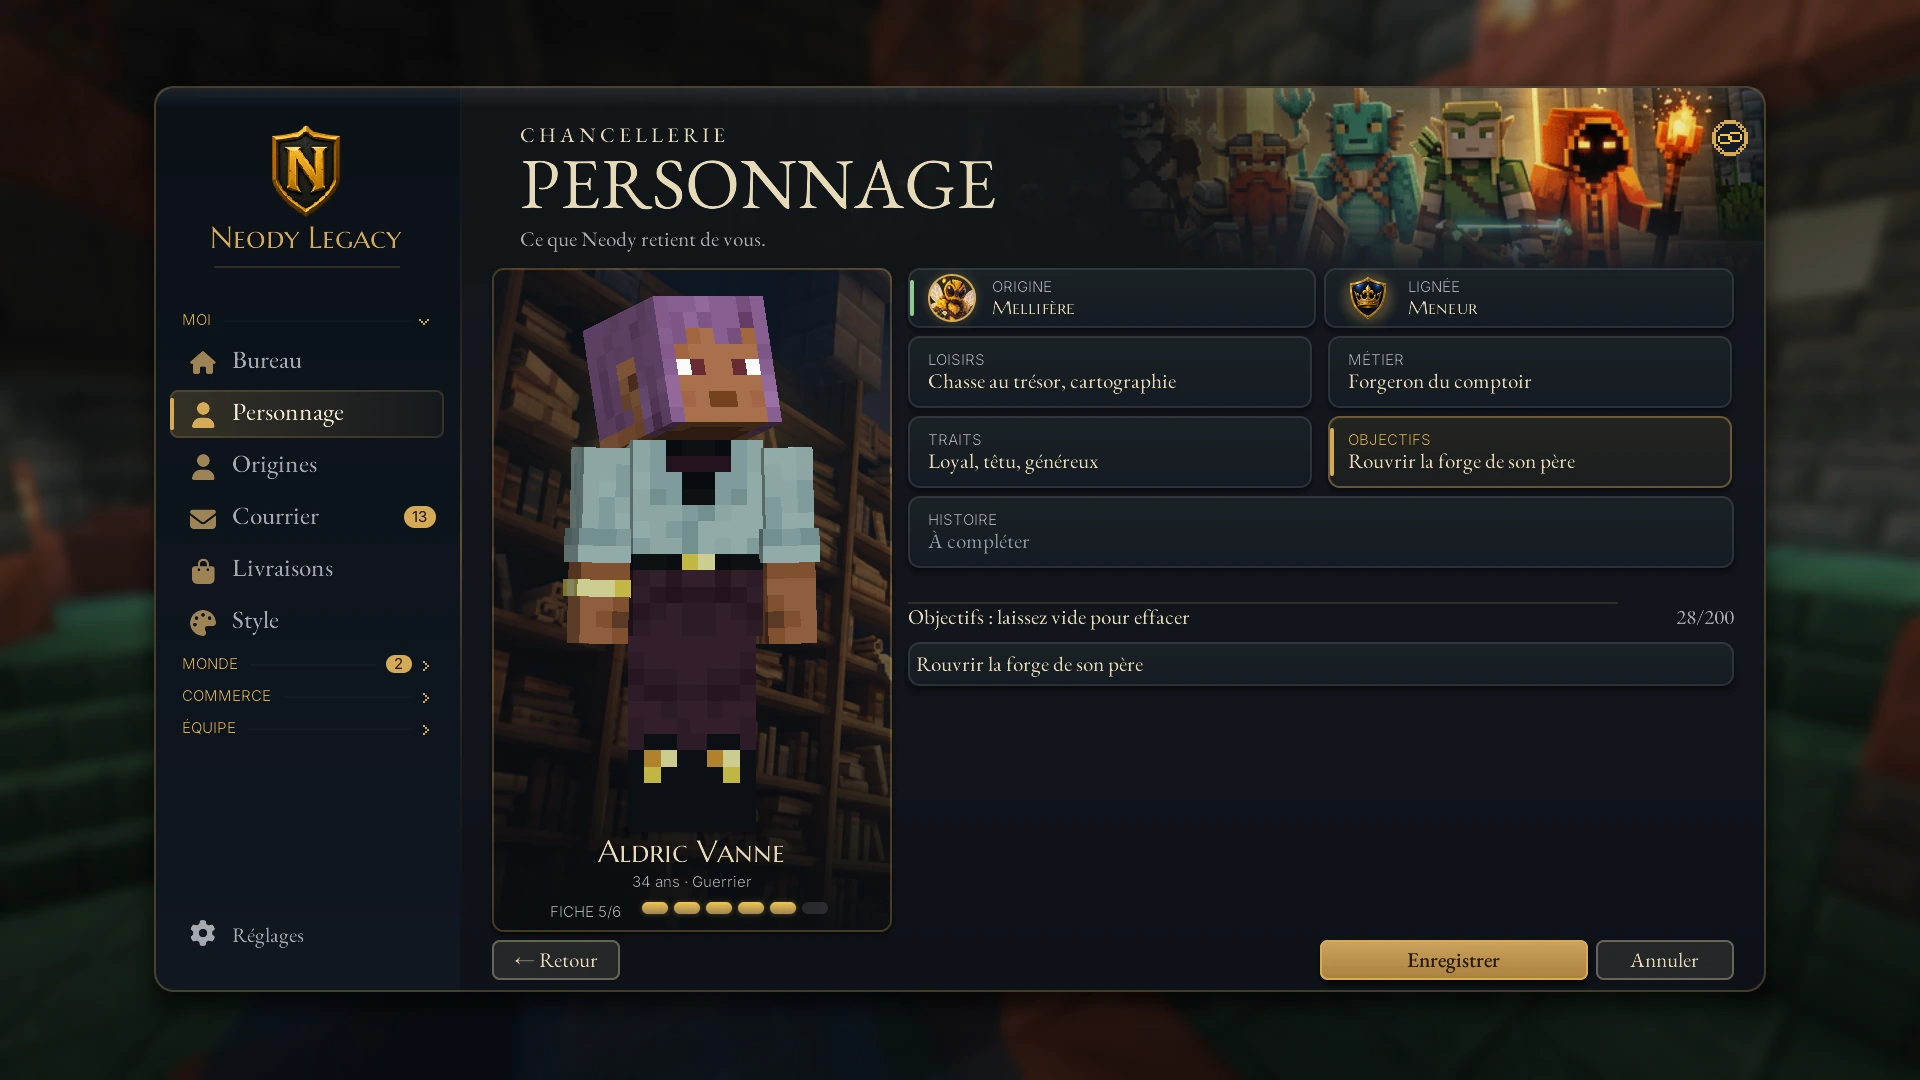
These fields shape your public profile in the Registre directory, which other players consult to learn who you are. You can change your first name, surname and age later with “Modifier prénom · nom · âge” (Edit first name · surname · age).
6. Anselme's guided tour
Just after creation, Anselme, herald of Neody, greets you and briefly introduces a few services (Territoires, Courrier and Registre), then presents six illustrated cards. Each card gives you a key to remember. You can press Passer (Skip), but you must press Escape a second time to confirm. The final action is “Entrer dans le royaume” (Enter the Kingdom).
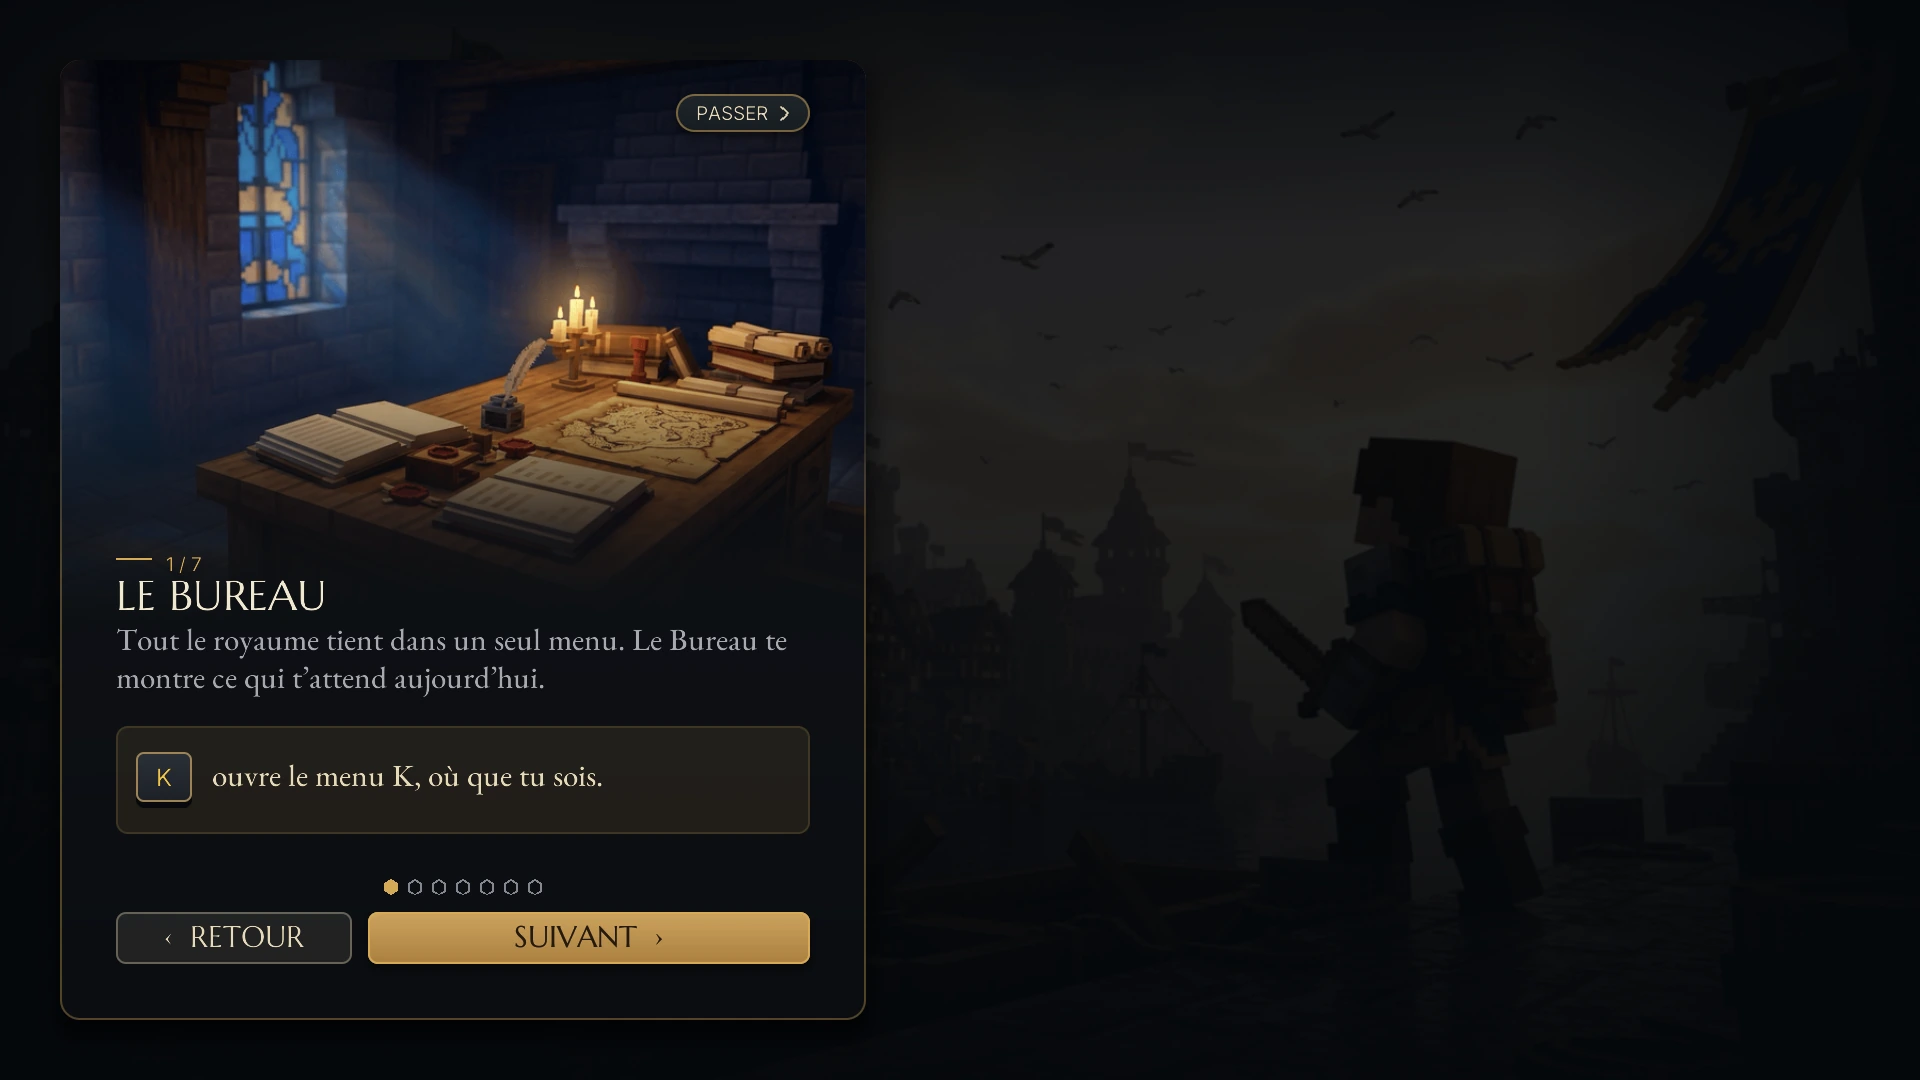
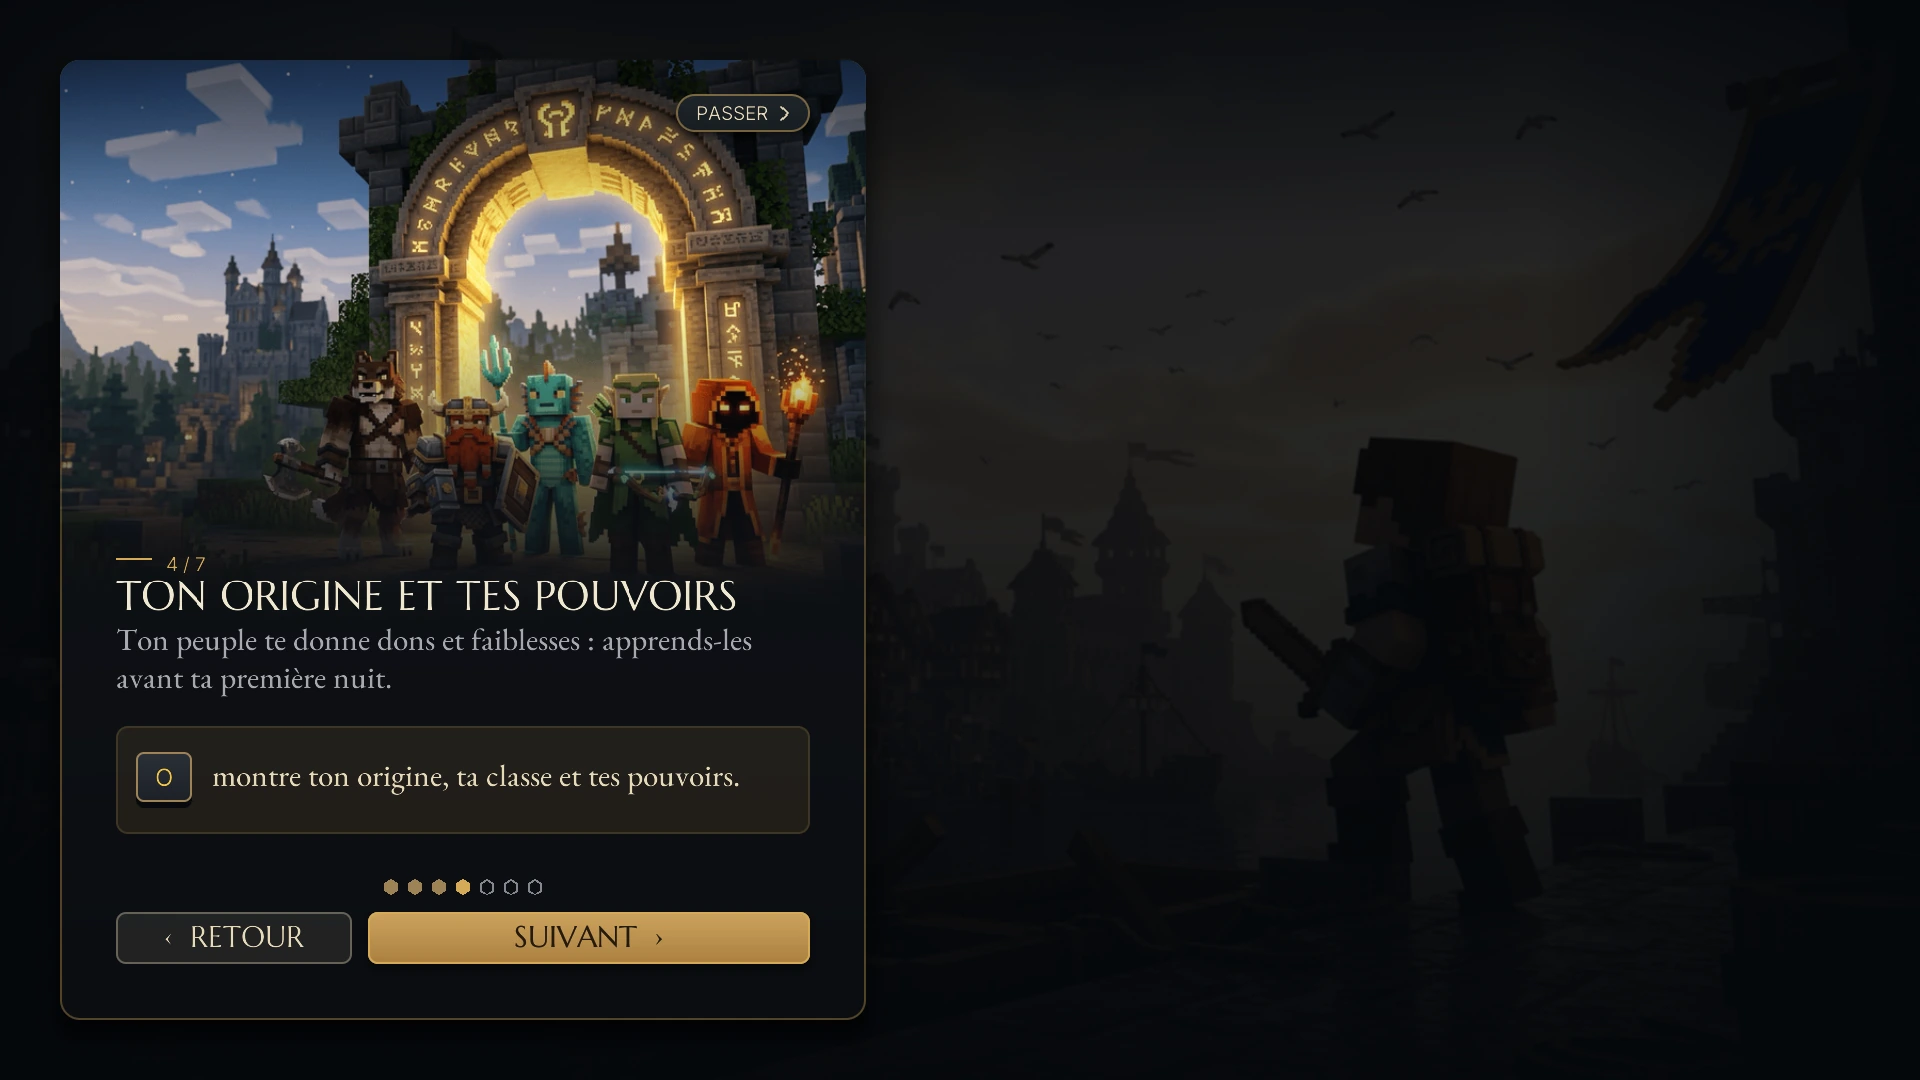
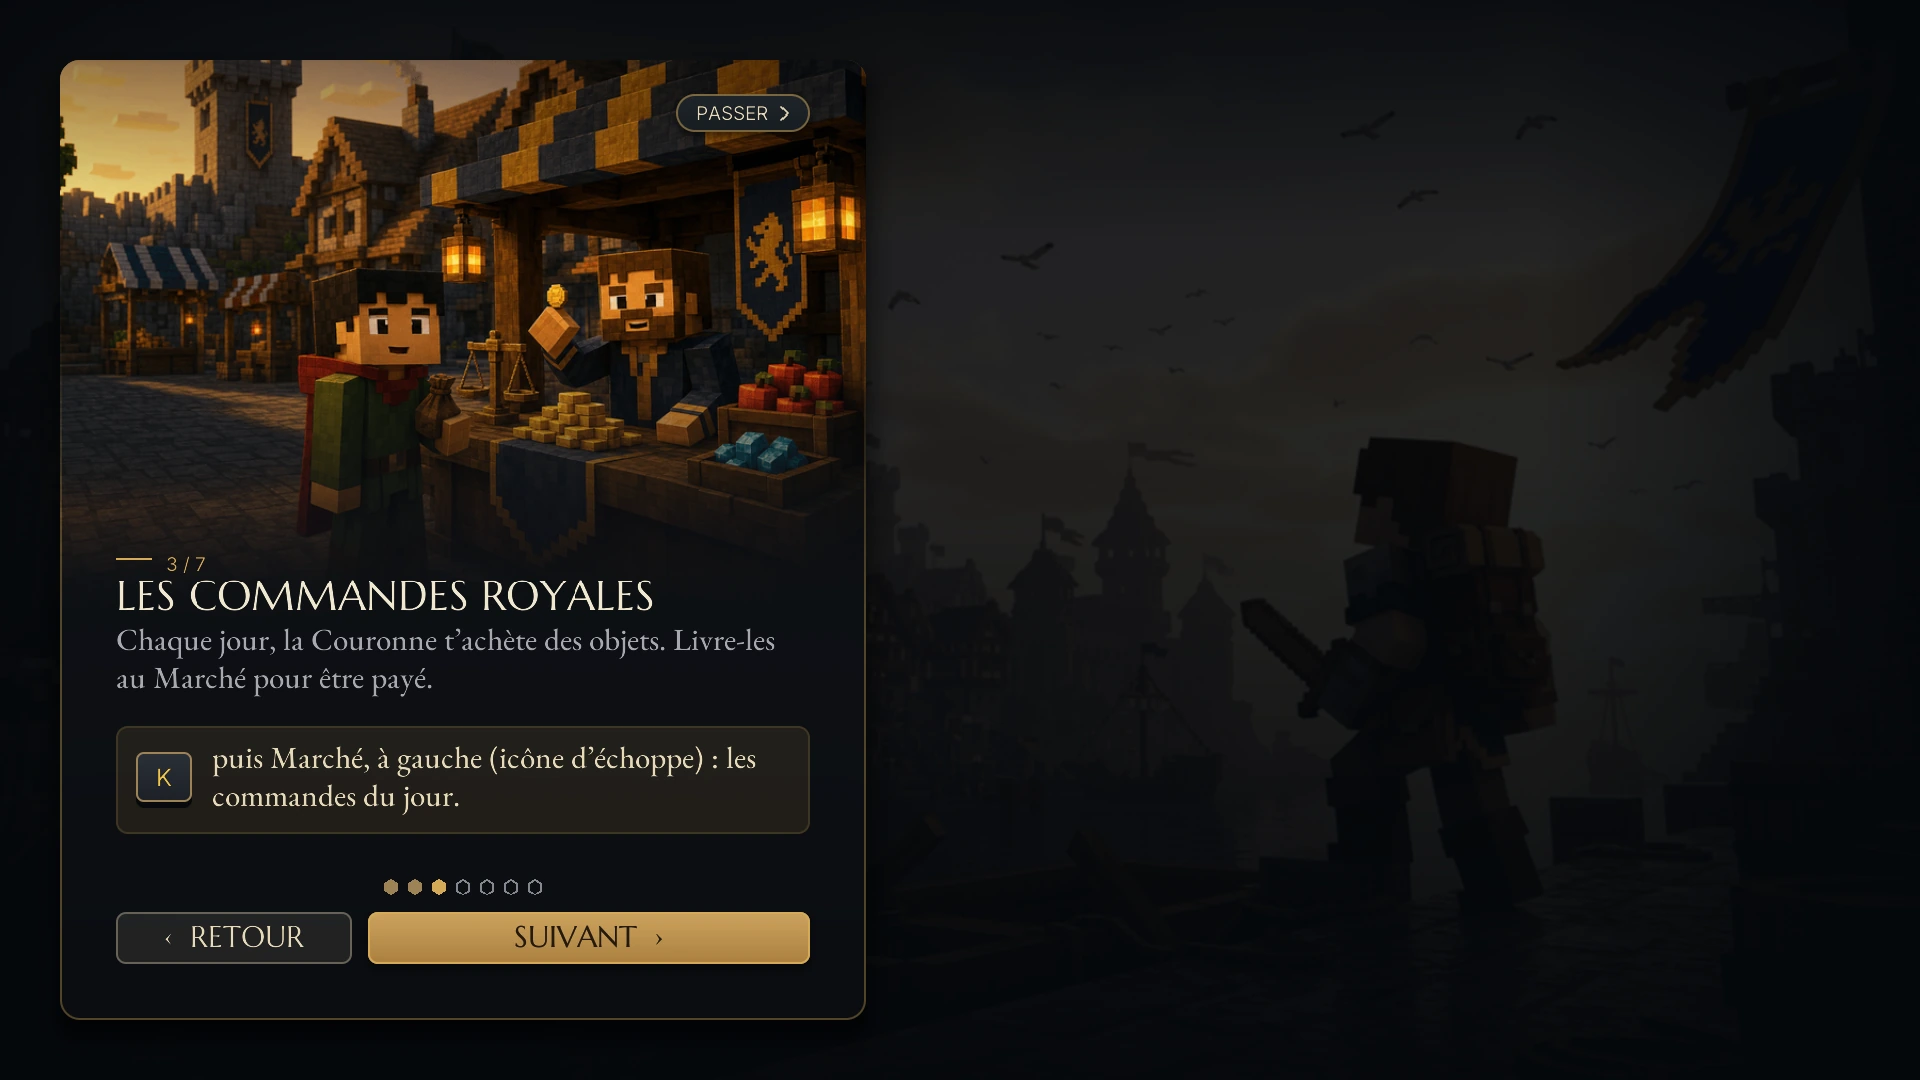
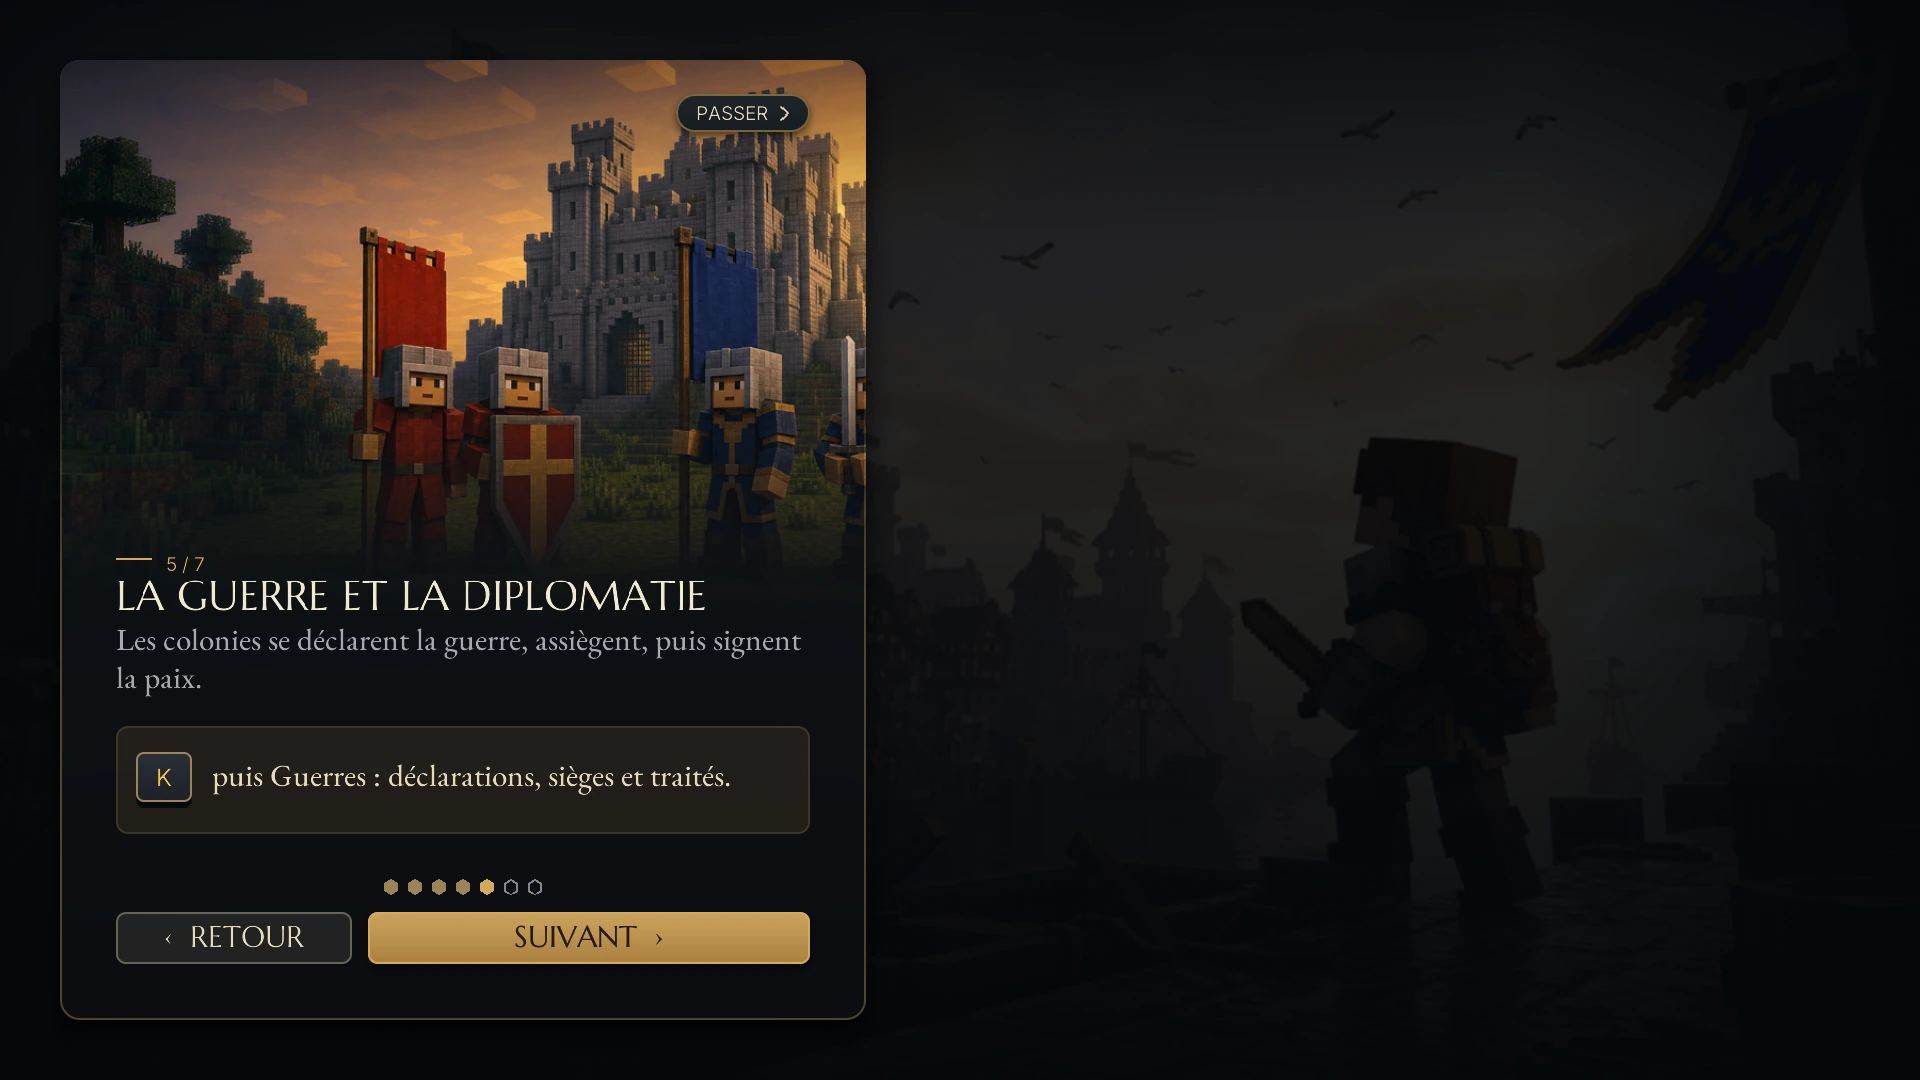
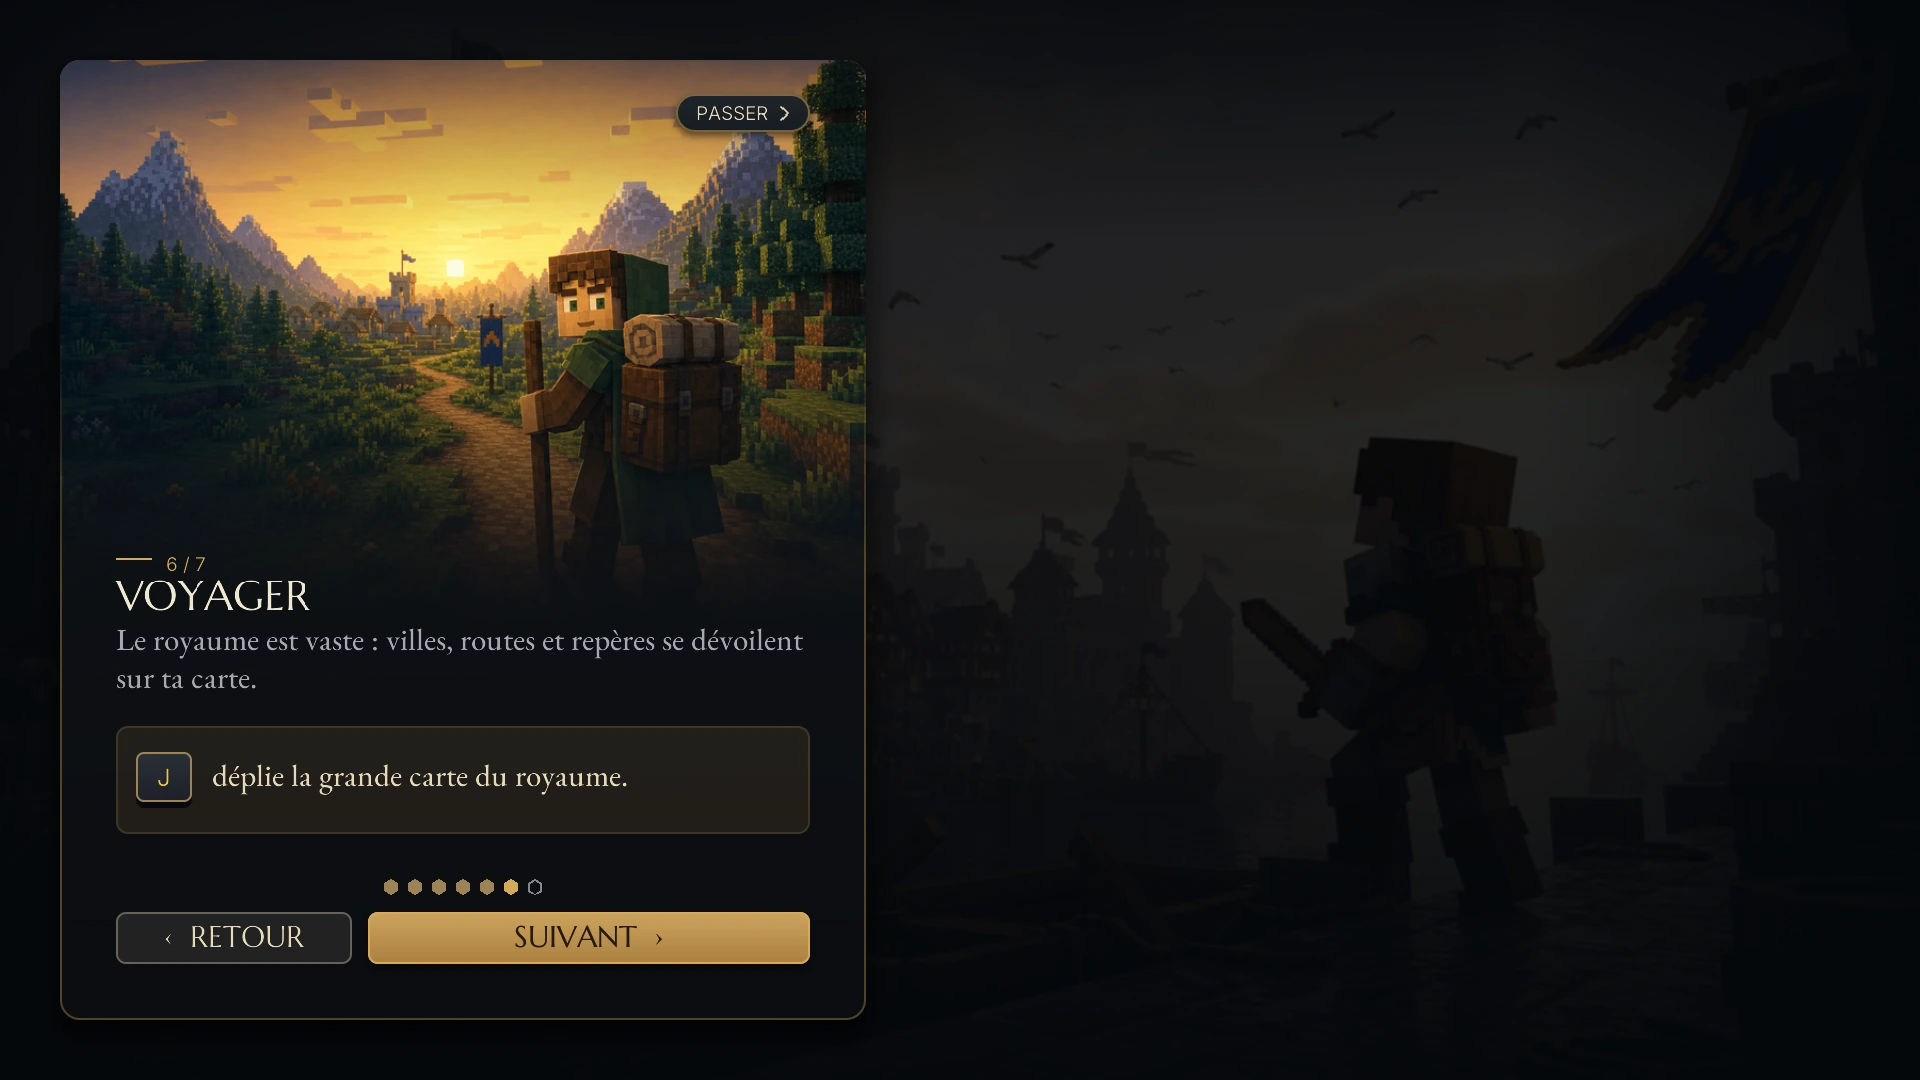
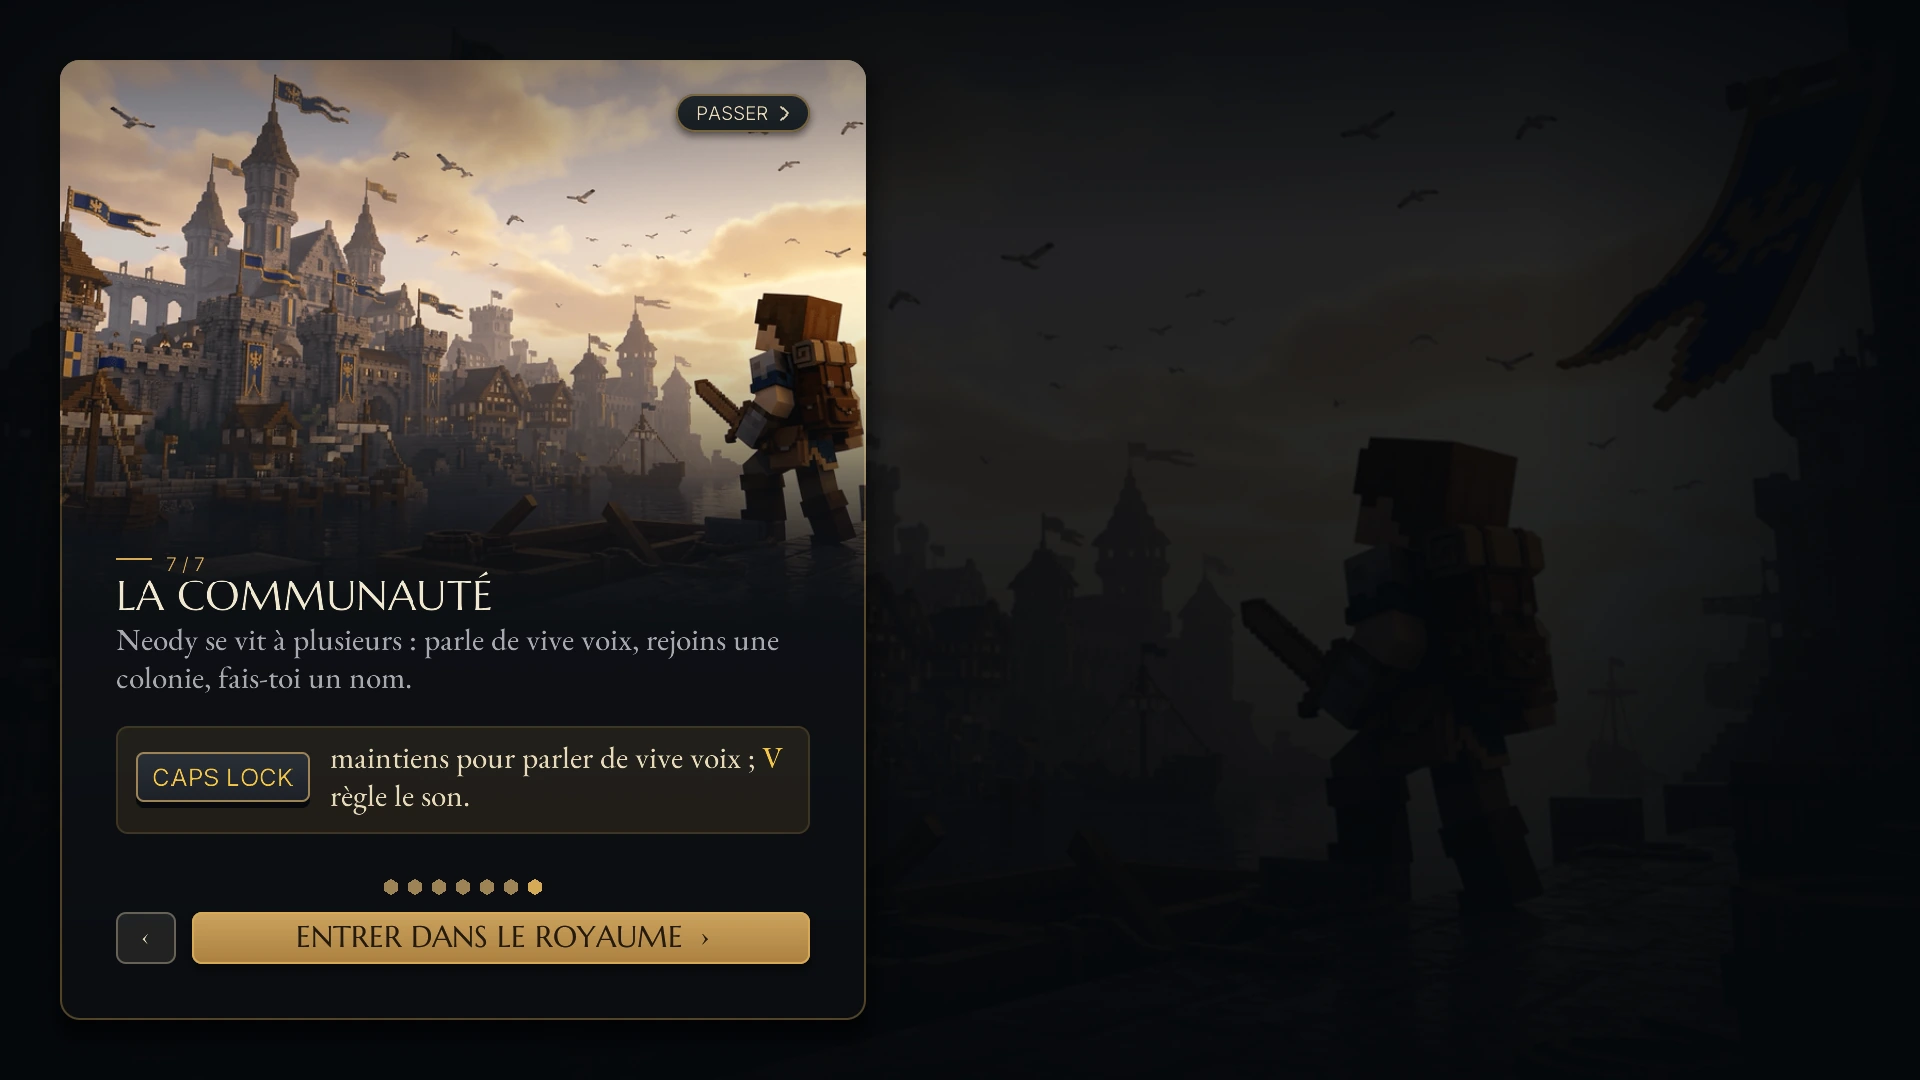
Remember three keys above all: K opens your Desk, O your origin record, and the key shown on the tour's Voyager (Travel) card opens the Kingdom's full map. The K menu is explained in the Neody menu guide.
7. Your beginner protections
The Kingdom gives you some help for your first night. Three distinct protections come into play:
5 seconds of invulnerability after your first origin selection is complete.
Connection protection: 50 seconds each time you connect, respawn or change dimension. Fall damage still applies: do not connect at the edge of a cliff.
Newcomer's grace: 20 minutes, the most valuable protection.
A few useful details: the timer only runs while you are connected and survives death. Disconnecting does not consume it. Grace does not protect you from bosses or other players. Veterans repeating the welcome journey do not receive it.
8. Your starter kit
When you arrive, your inventory contains:
- 1 Camp de ravitaillement (Supply Camp), the item used to found your colony;
- 9 loaves of bread ;
- 8 raw rabbits.
The kit itself contains nothing else: no sword, shield or boots. Depending on your race and class, you may also receive a few related items, granted only once. Cook your rabbits as soon as you have a fire.
9. Choosing your colony's location
This is the most important decision of your first hour, and you cannot undo it: the chunk where you place your Town Hall becomes your colony's permanent centre. Placing the block somewhere else later does not move that centre.
| Rule | What it means for you |
|---|---|
| Starting radius | Your colony starts with a 4-chunk radius and can grow to 20. |
| Distance between colonies | A minimum gap is required: the further you settle from others, the more room you leave yourself to grow. |
| Distance from spawn | Your colony must be founded more than 550 blocks from the world spawn point, without exceeding 10,000 blocks. |
| Protected area | Other players cannot build or break blocks in your colony. |
Keep your distance from other colonies: if a neighbour is too close, founding fails and you may run out of room to expand. Look for flat, clear ground with water for a Fisher, wood for a Lumberjack and a biome you enjoy looking at. Spend ten minutes scouting rather than ten seconds. The guide Travelling and finding your way helps you read the map and get your bearings.
10. Founding: Supply Camp, then Town Hall
1. Place the Supply Camp
Right-click the ground with the item from your kit on flat, clear land (a hole or even a flower can block placement). A ghost preview guides you.
2. Open the camp
Inside the camp's chest, you will find the Town Hall block (Hôtel de ville) and a Build Tool.
3. Place the Town Hall
Use the Build Tool to move the 3D preview, rotate it, choose an architectural style and confirm. Check the location carefully: this is your permanent centre.
4. Name your colony
Right-click the placed Town Hall, name your colony and confirm. Your first citizens arrive and your protected area becomes active.
If the Supply Camp will not place, the area is not perfectly flat or clear. Move the preview by one block or clear the ground.
11. First buildings and citizens
The golden rule of colony building: nothing gets built without a Builder. Craft the Builder's Hut (find its recipe by pressing R on the item in the recipe browser), place it with the Build Tool, then start construction in its interface. The Builder builds their own hut first; that is normal. Then proceed in this order:
- Taverne (Tavern) : houses citizens and attracts visitors you can recruit.
- Food : start with a Fisher for quick supplies, then a Farmer. A hungry citizen will not work.
- Bûcheron (Lumberjack), then Mine : wood and stone supply every building project.
- Entrepôt (Warehouse) and Coursier (Courier) : logistics, so resources move on their own.
- Tour de garde (Guard Tower) : before the first raid, without hesitation.
Huts start at level 1 and can then be upgraded. A Builder can only upgrade another building as far as the level of their own hut, so upgrade it early. Each Builder works on one project at a time; a second Builder lets you build in parallel.
For more on jobs, read the jobs guide. The dishes in the cooking guide feed both you and your colony better.
12. First nights and raids
- Monsters are active: do not go out at night without equipment.
- Sleep when you can: a bed skips the night and its unwelcome encounters. Consider sleeping bags and hammocks to keep your respawn point.
- Citizens sleep at night and take shelter during a raid.
- PvP is enabled: say hello before approaching a stranger.
What if you die? A grave appears where you died and keeps your items: find it to recover them. Anyone can break it, so return quickly.
13. Earning your first deniers
The Kingdom's currency is deniers (D). The easiest way to start is through Royal Orders. The Kingdom issues up to 3 orders each day, which you can fulfil by delivering items, with a cap of 5,000 D per player per day. For contracts, the Market and the wider economy, start with Deniers, the currency of the Kingdom and your colony treasury.
Another step to remember: link your game account to Discord. This is required to publish in the Registre, sign a contract and gain full access to Royal Orders. Everything is explained in Linking your Discord (the command /link starts the process).
14. The K menu, your dashboard
Press K at any time: the Bureau brings together your balance, reputation, profile, mail, Registre, economy, colony, territories and diplomacy. Ctrl+K opens a search palette to find a screen, player or action with just a few letters. Everything is explained in The Neody menu.
Two other visual guides accompany you. Notifications appear as cards at the top of the screen: origin notifications remind you of powers, rest periods and mastery lessons.
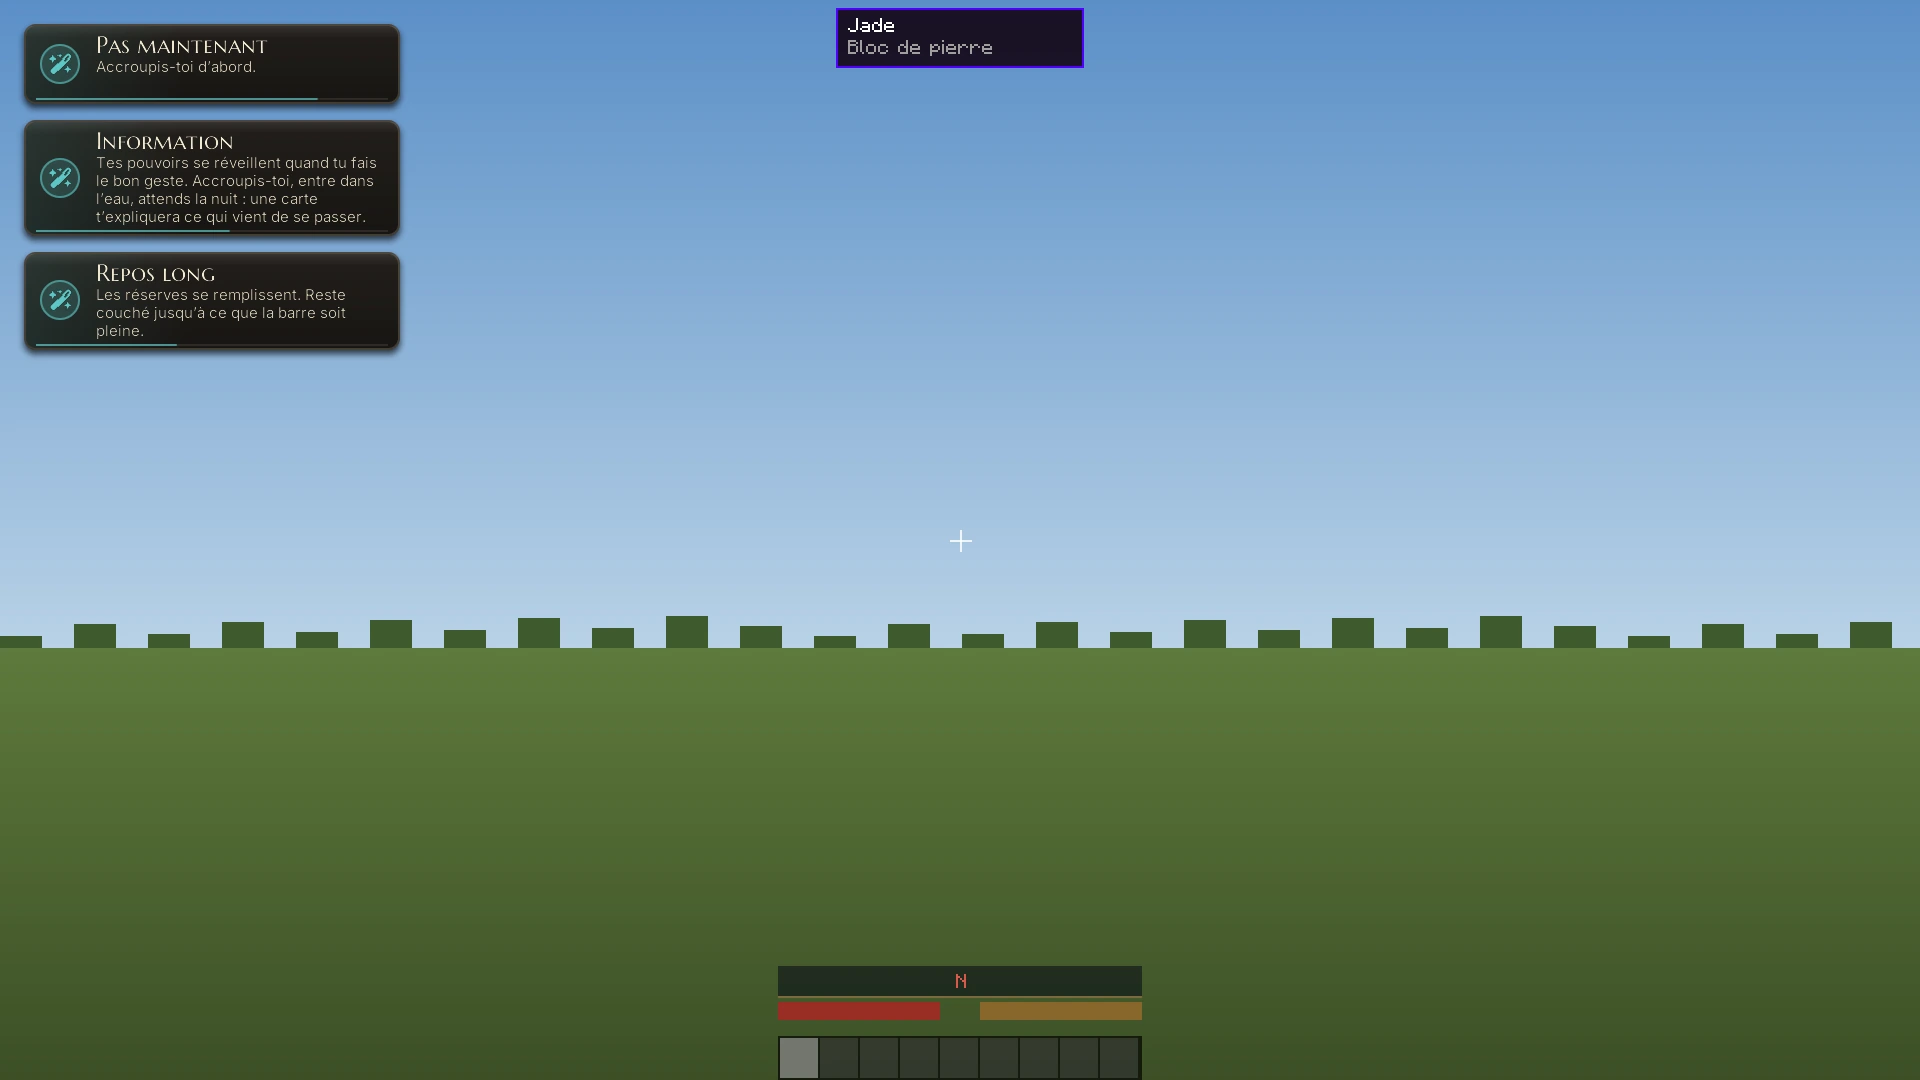
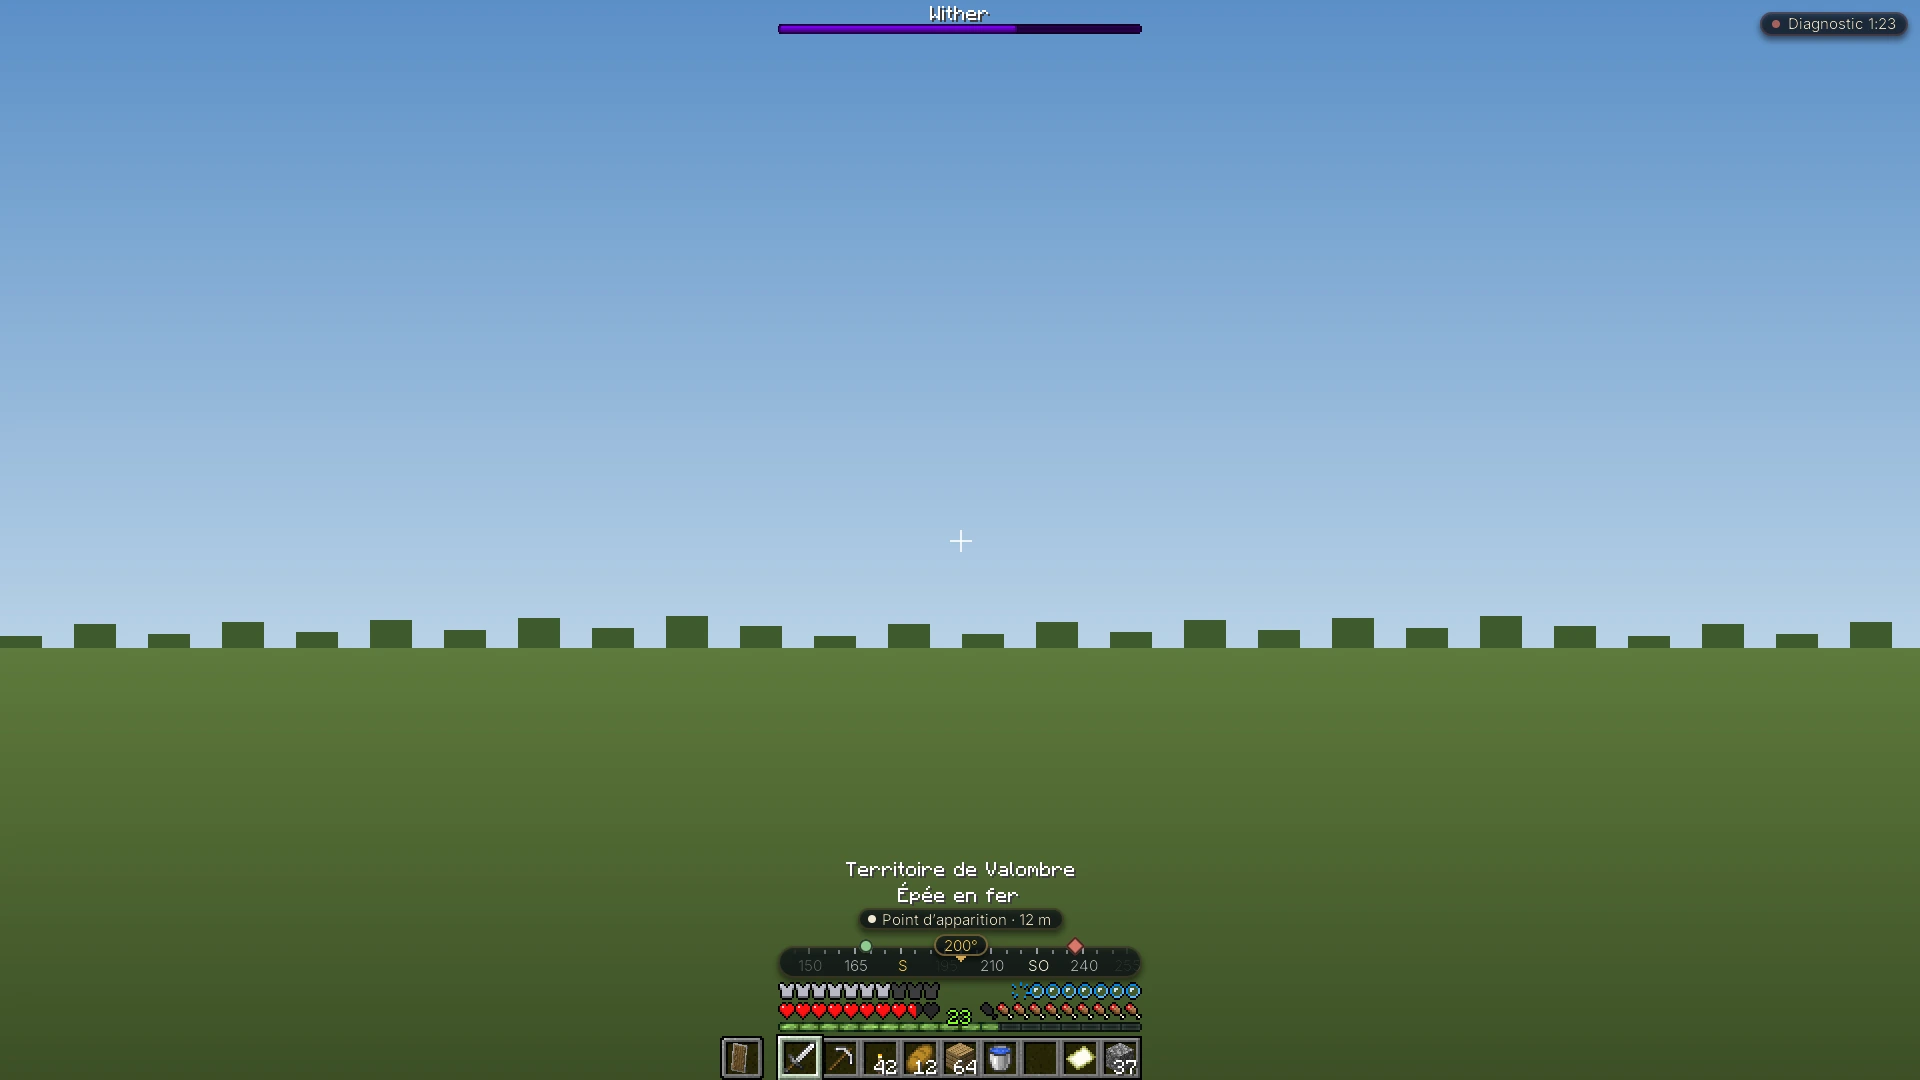
The compass is a graduated strip at the bottom of the screen, above your hearts. It shows your heading, spawn point, last death when available, and map markers.
15. Objectives, welcome journey and mastery
Your adventure begins with a welcome journey : the origins screen explains your race, class and how they work together. Then O (or Origines in the K menu) opens “Origines & maîtrise” (Origins & mastery), your progression dashboard with six tabs: Personnage (Character), Évolution (Evolution), Talents, Point faible (Weakness), Fiche (Profile) and Guide.
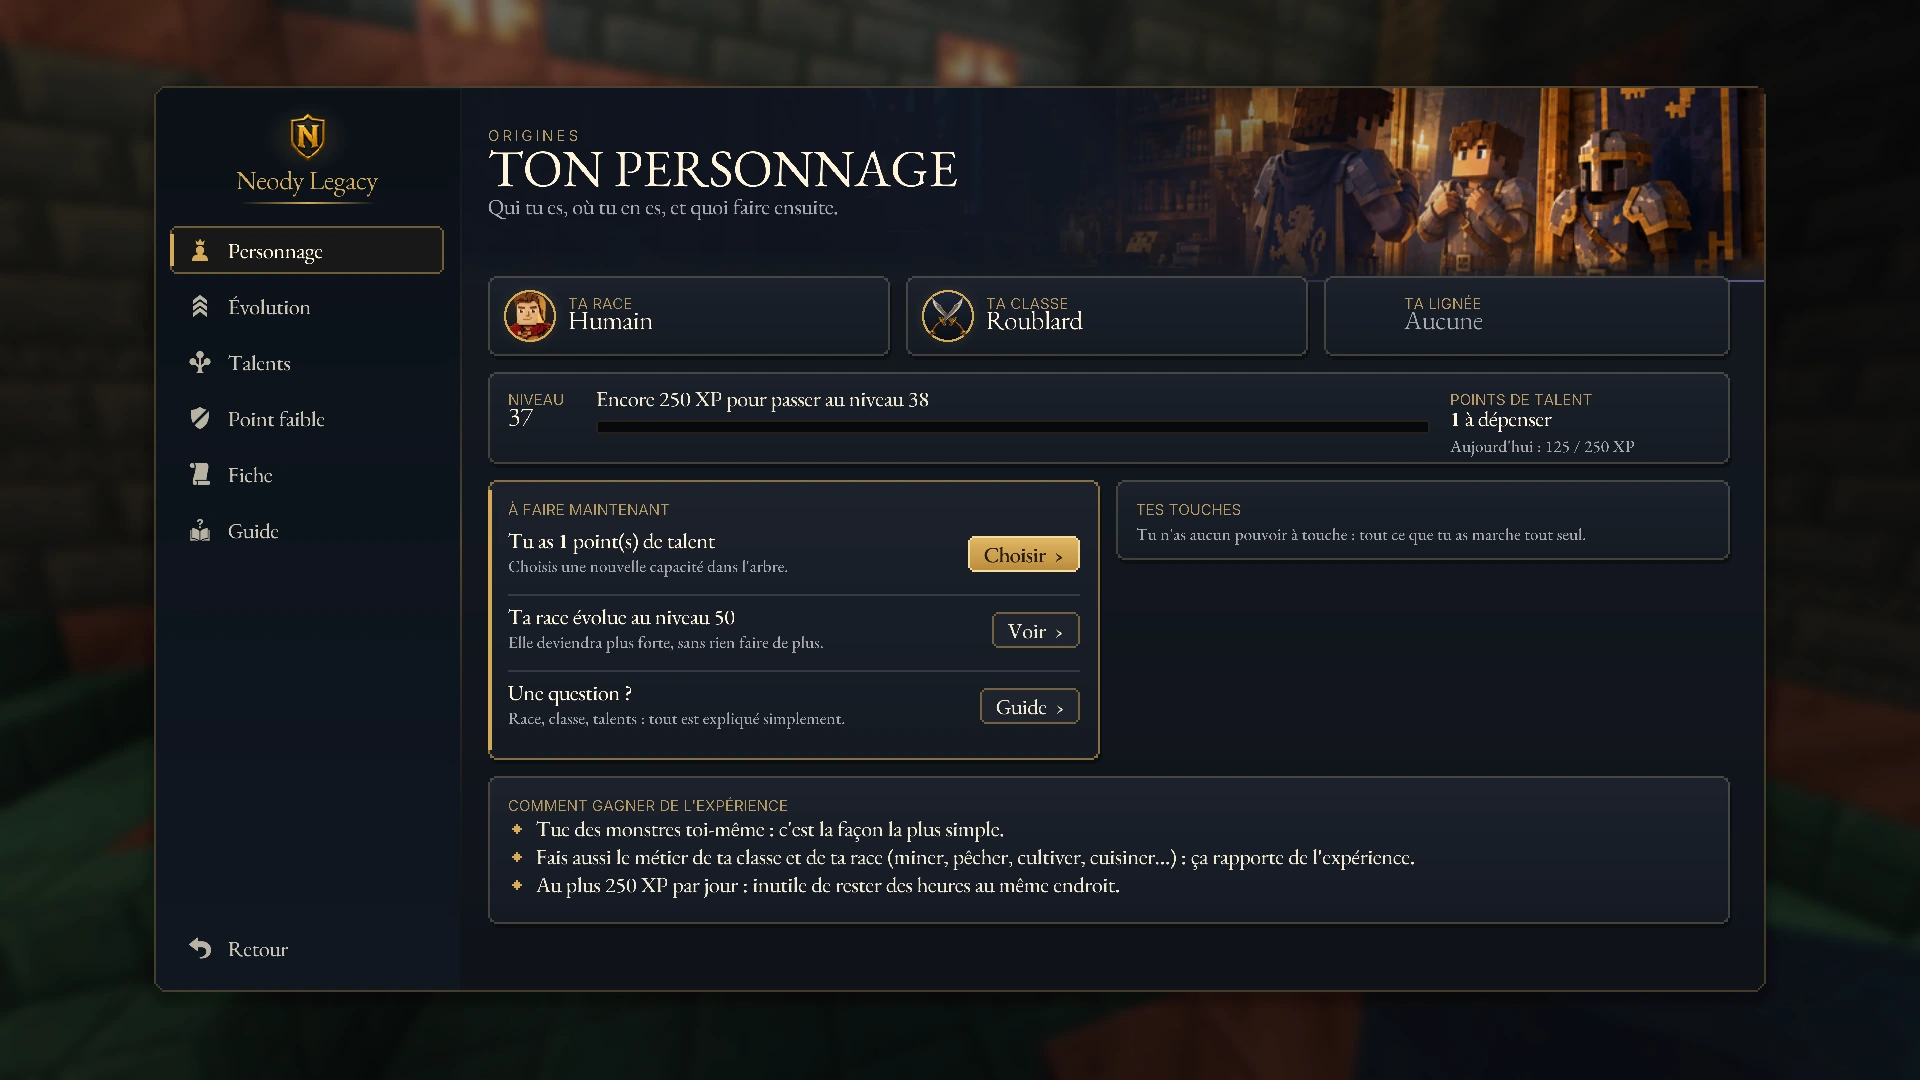
- You earn mastery XP by killing monsters yourself and, depending on your race and class, through harvesting, breeding, fishing and more. To discourage repetitive farming, the first kills of a given type give full XP, then progressively less.
- Your race evolves at three milestones: levels 20, 35 and 50 (Éveillé, Awakened; Ascendant; Apogée, Apex).
- Your talents follow one path in depth. Choices are permanent unless you use “Redistribuer mes points” (Reallocate my points), which costs experience levels and deniers.
Your “Fiche x/6” profile progress and the Desk cards remind you what is left to do to unlock everything.
16. Pitfalls to avoid
| Pitfall | Remedy |
|---|---|
| Connection refused | Use the Neody Legacy launcher downloaded from neodylegacy.fr. |
| Cannot found a colony | Move away from neighbouring colonies to meet the minimum distance, and stay more than 550 blocks from the world spawn point without exceeding 10,000 blocks. |
| Supply Camp will not place | The ground is not flat or clear enough: a hole or a flower can block placement. |
| Dying when reconnecting | The 50-second protection does not cover falls: do not disconnect at the edge of a drop. |
| Builder stuck | Use Rappeler les citoyens, the Ressources requises tab and the Presse-papier (Clipboard). |
| Wasted grace | Do not spend it all chatting: you only get these 20 minutes once, so get equipped. |
| Surprise raid | Build a Guard Tower before the tenth night. |
Next, voice chat, graphics and atmosphere and interface and recipes complete your introduction.
Your first hour at a glance
Launcher installed from neodylegacy.fr and account signed in.
Race, class and lineage chosen, character created and guided tour complete.
Equipment crafted during the 20 minutes of grace.
Location scouted away from other colonies, Supply Camp placed and Town Hall set down.
Builder, Tavern, food, Lumberjack, Mine, Warehouse, then a Guard Tower.
First deniers earned through Royal Orders, Discord linked and K menu familiar.
The Kingdom was not built in a day, but your first night awaits your colony: welcome home.